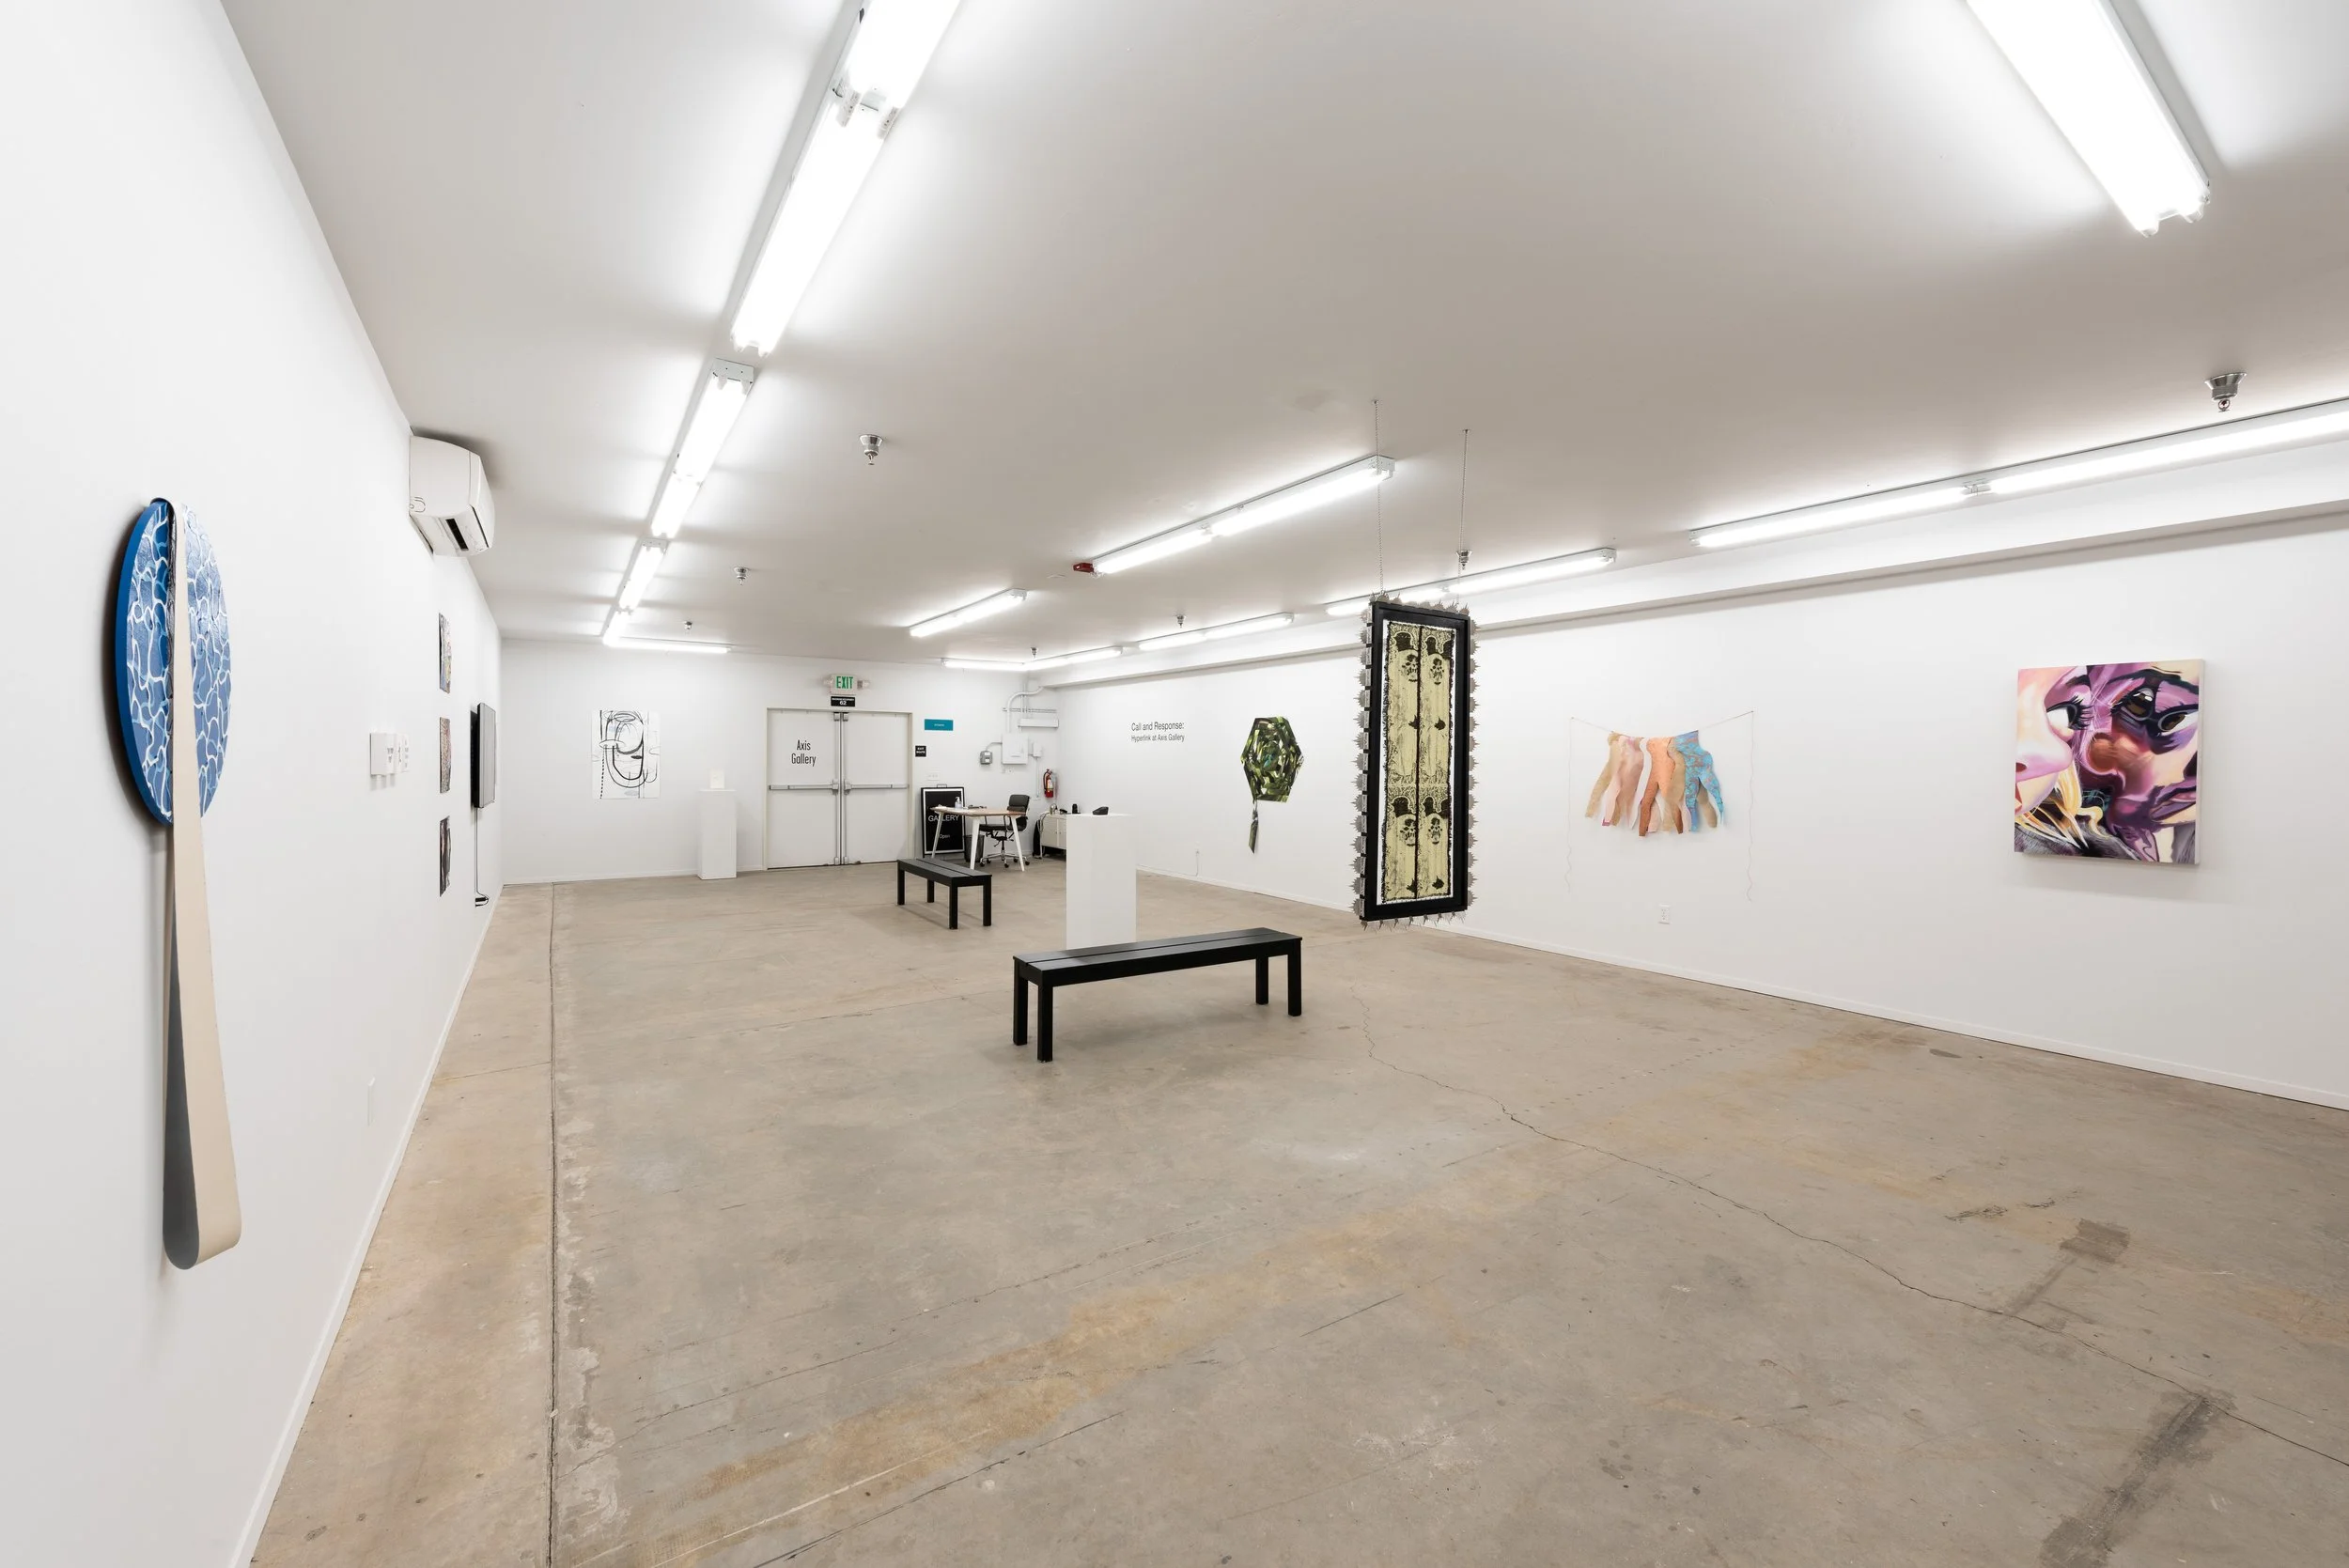
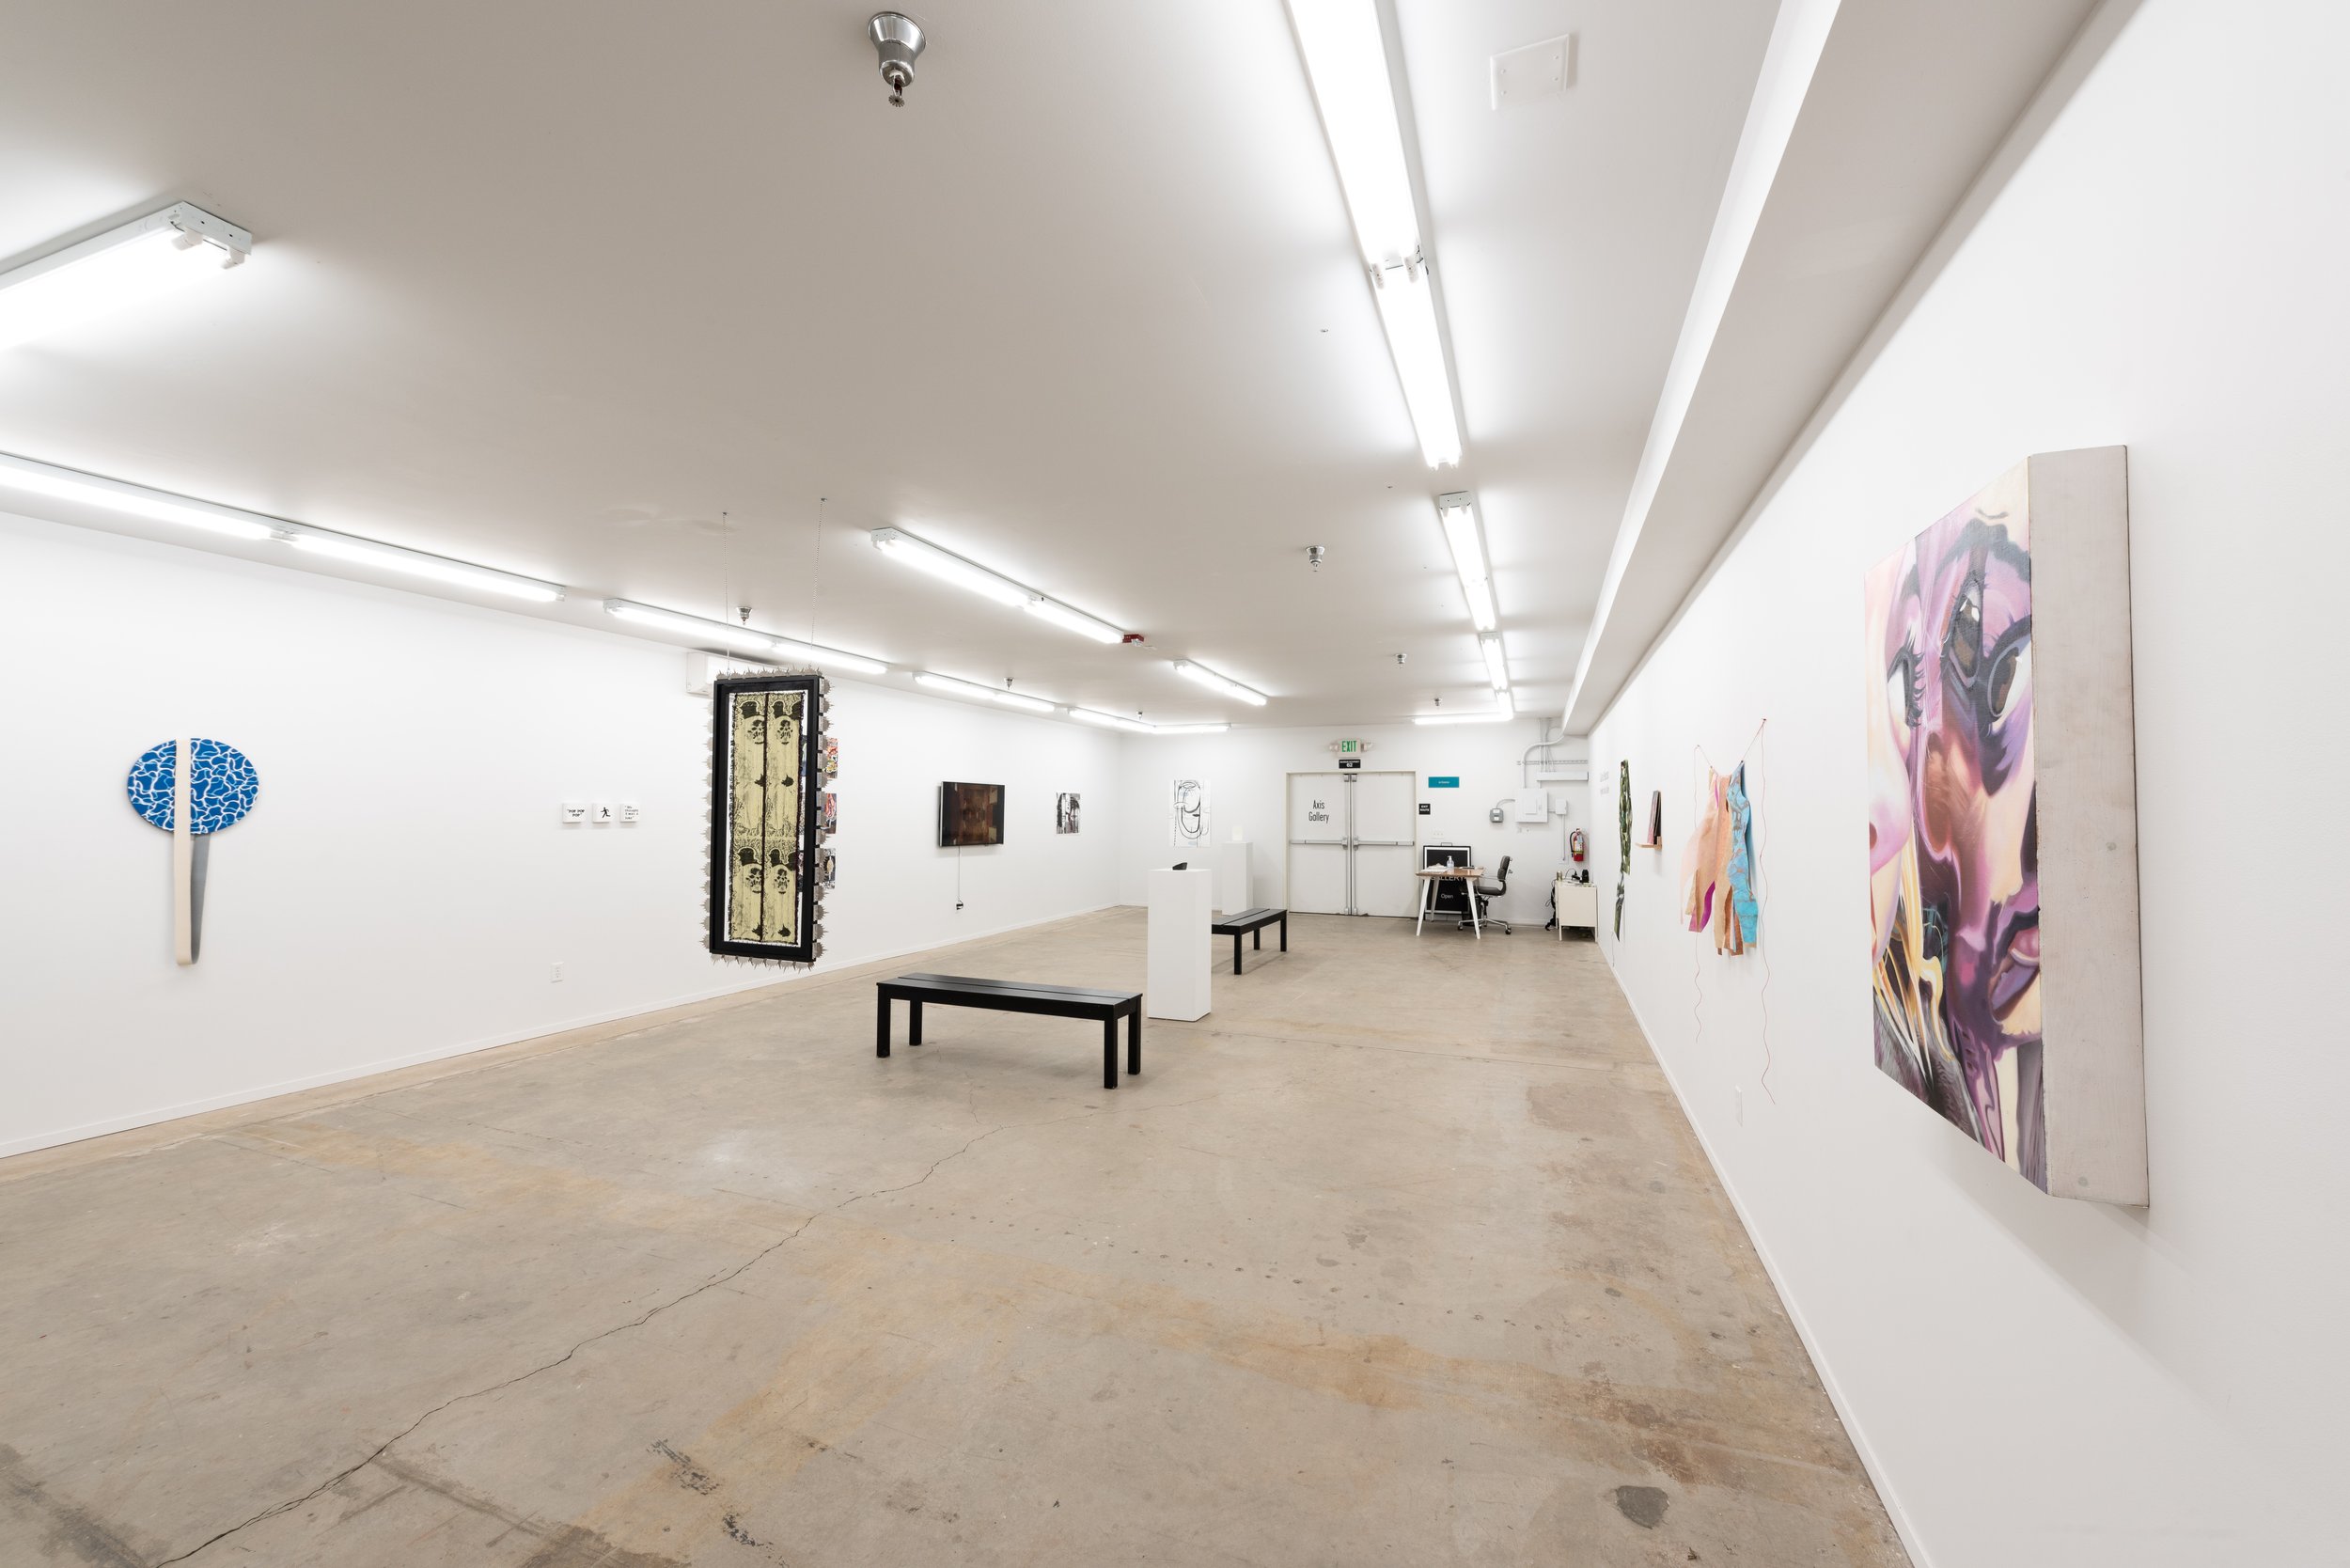
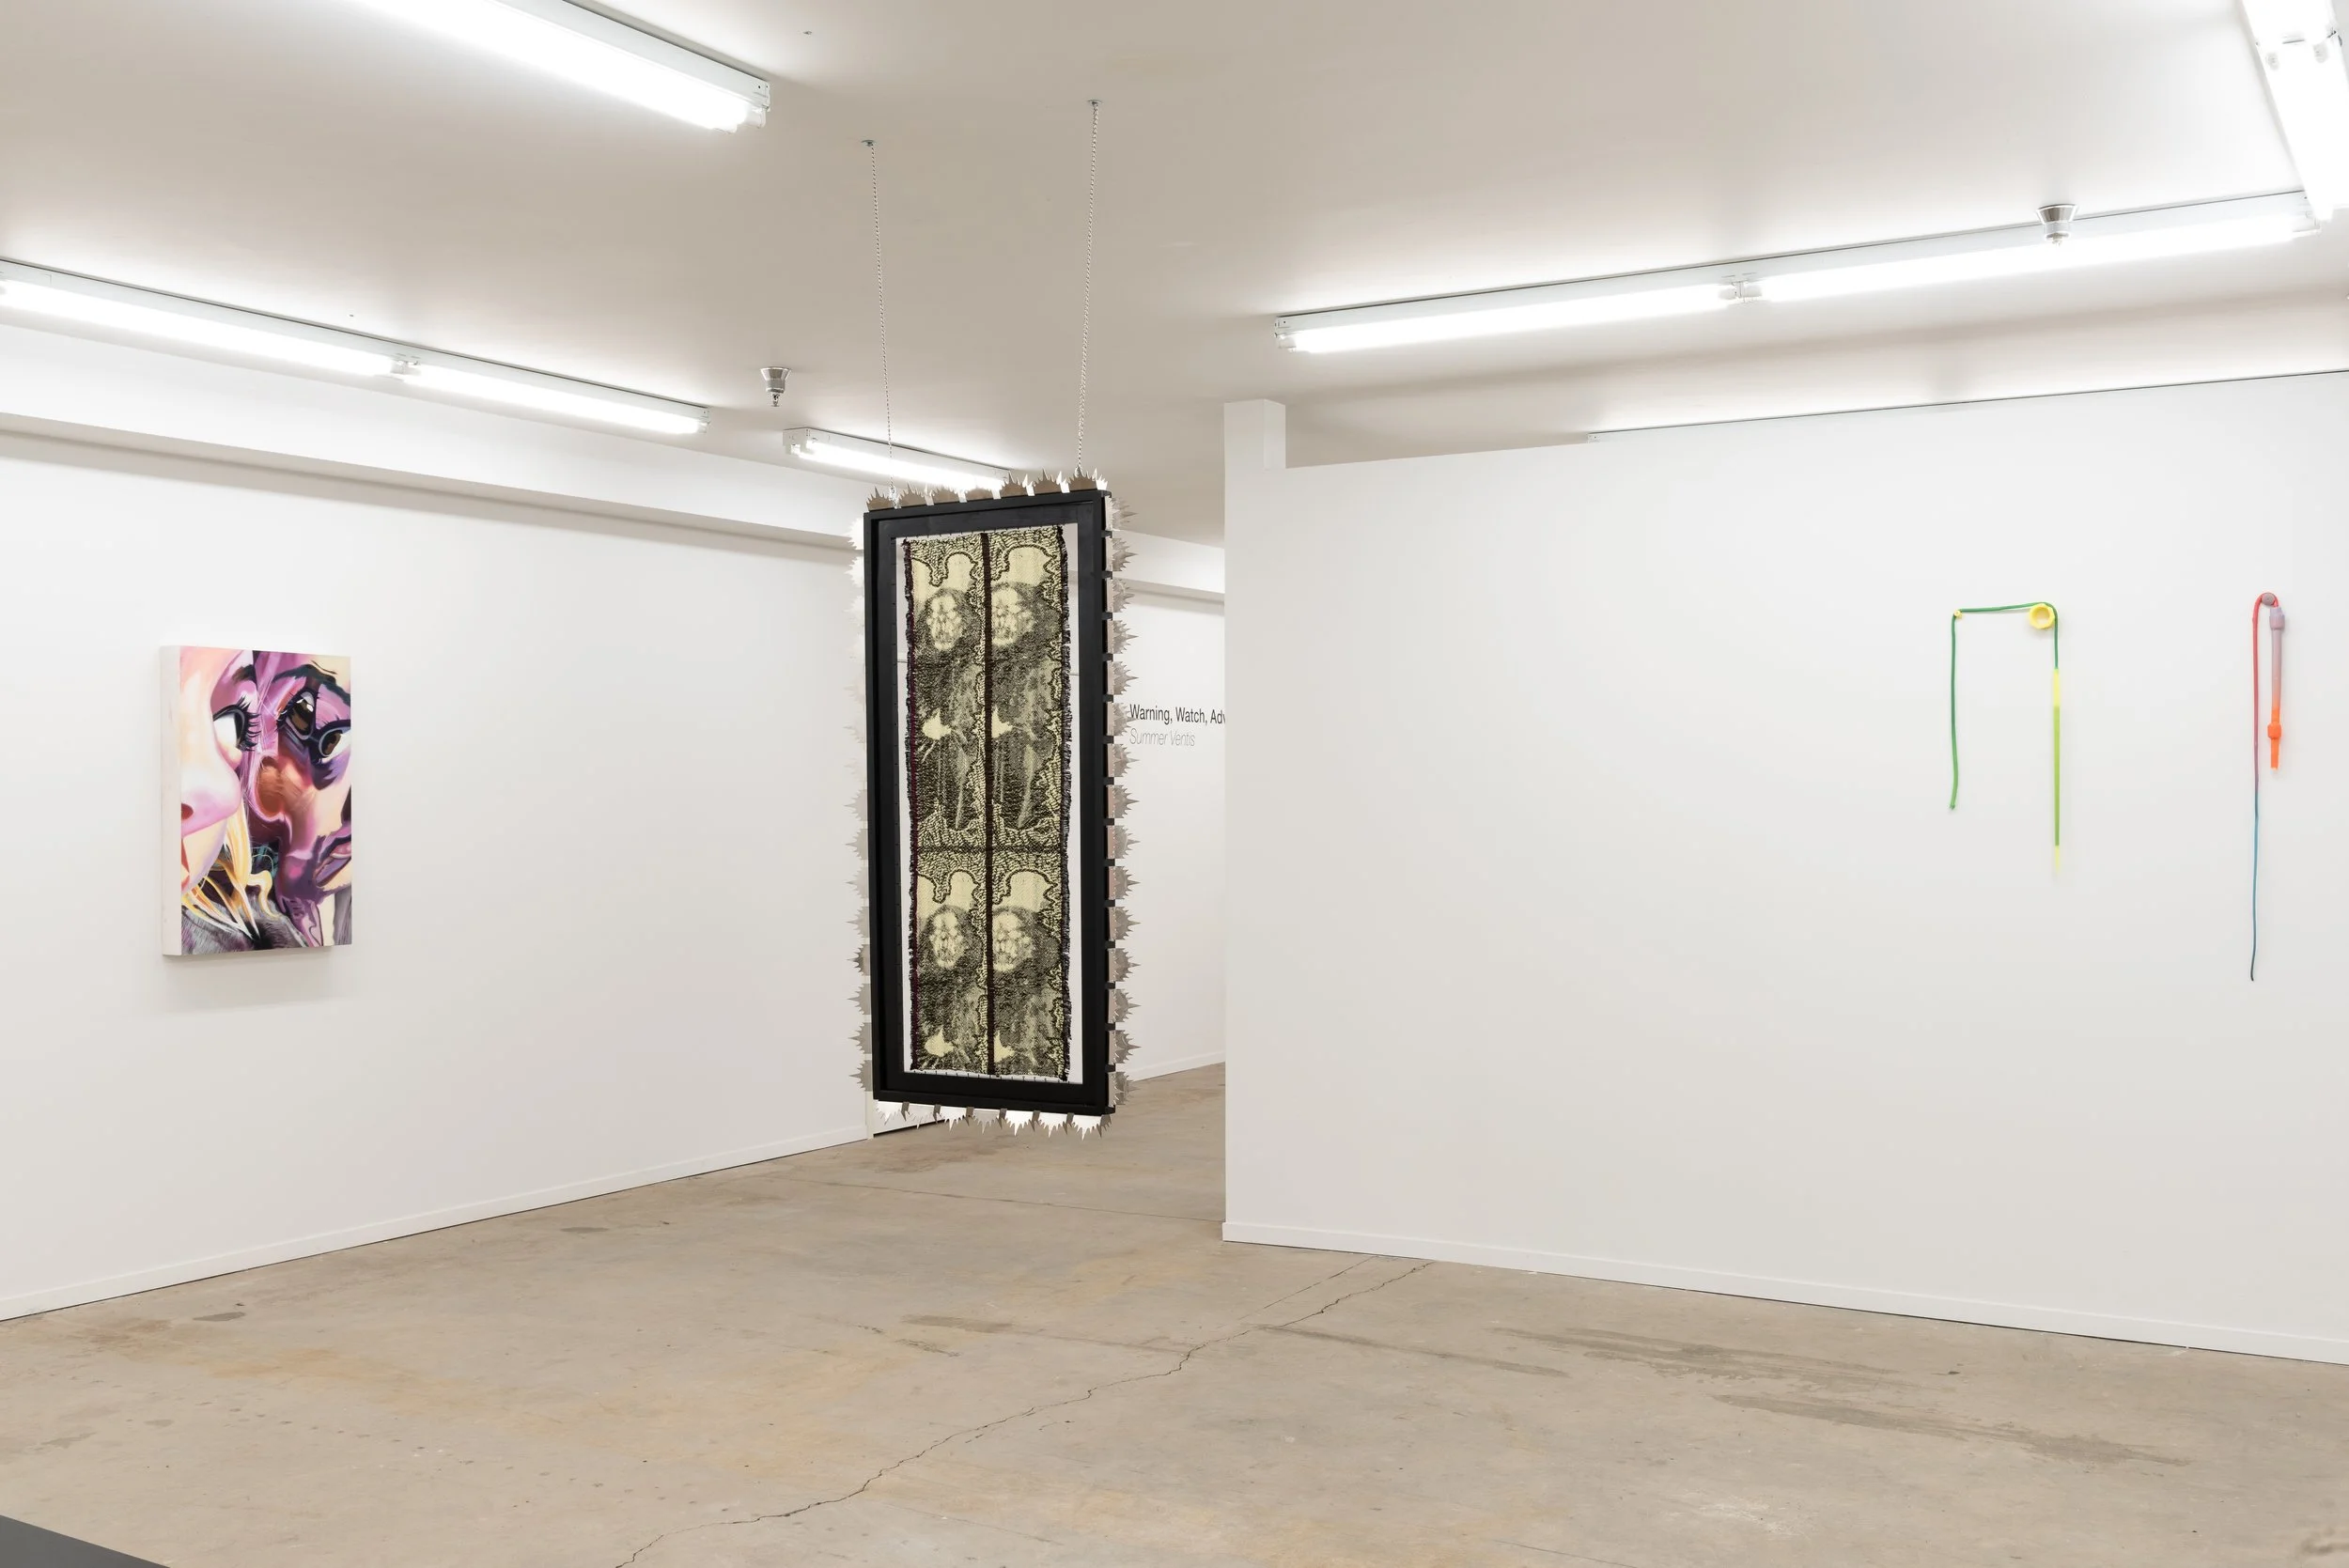
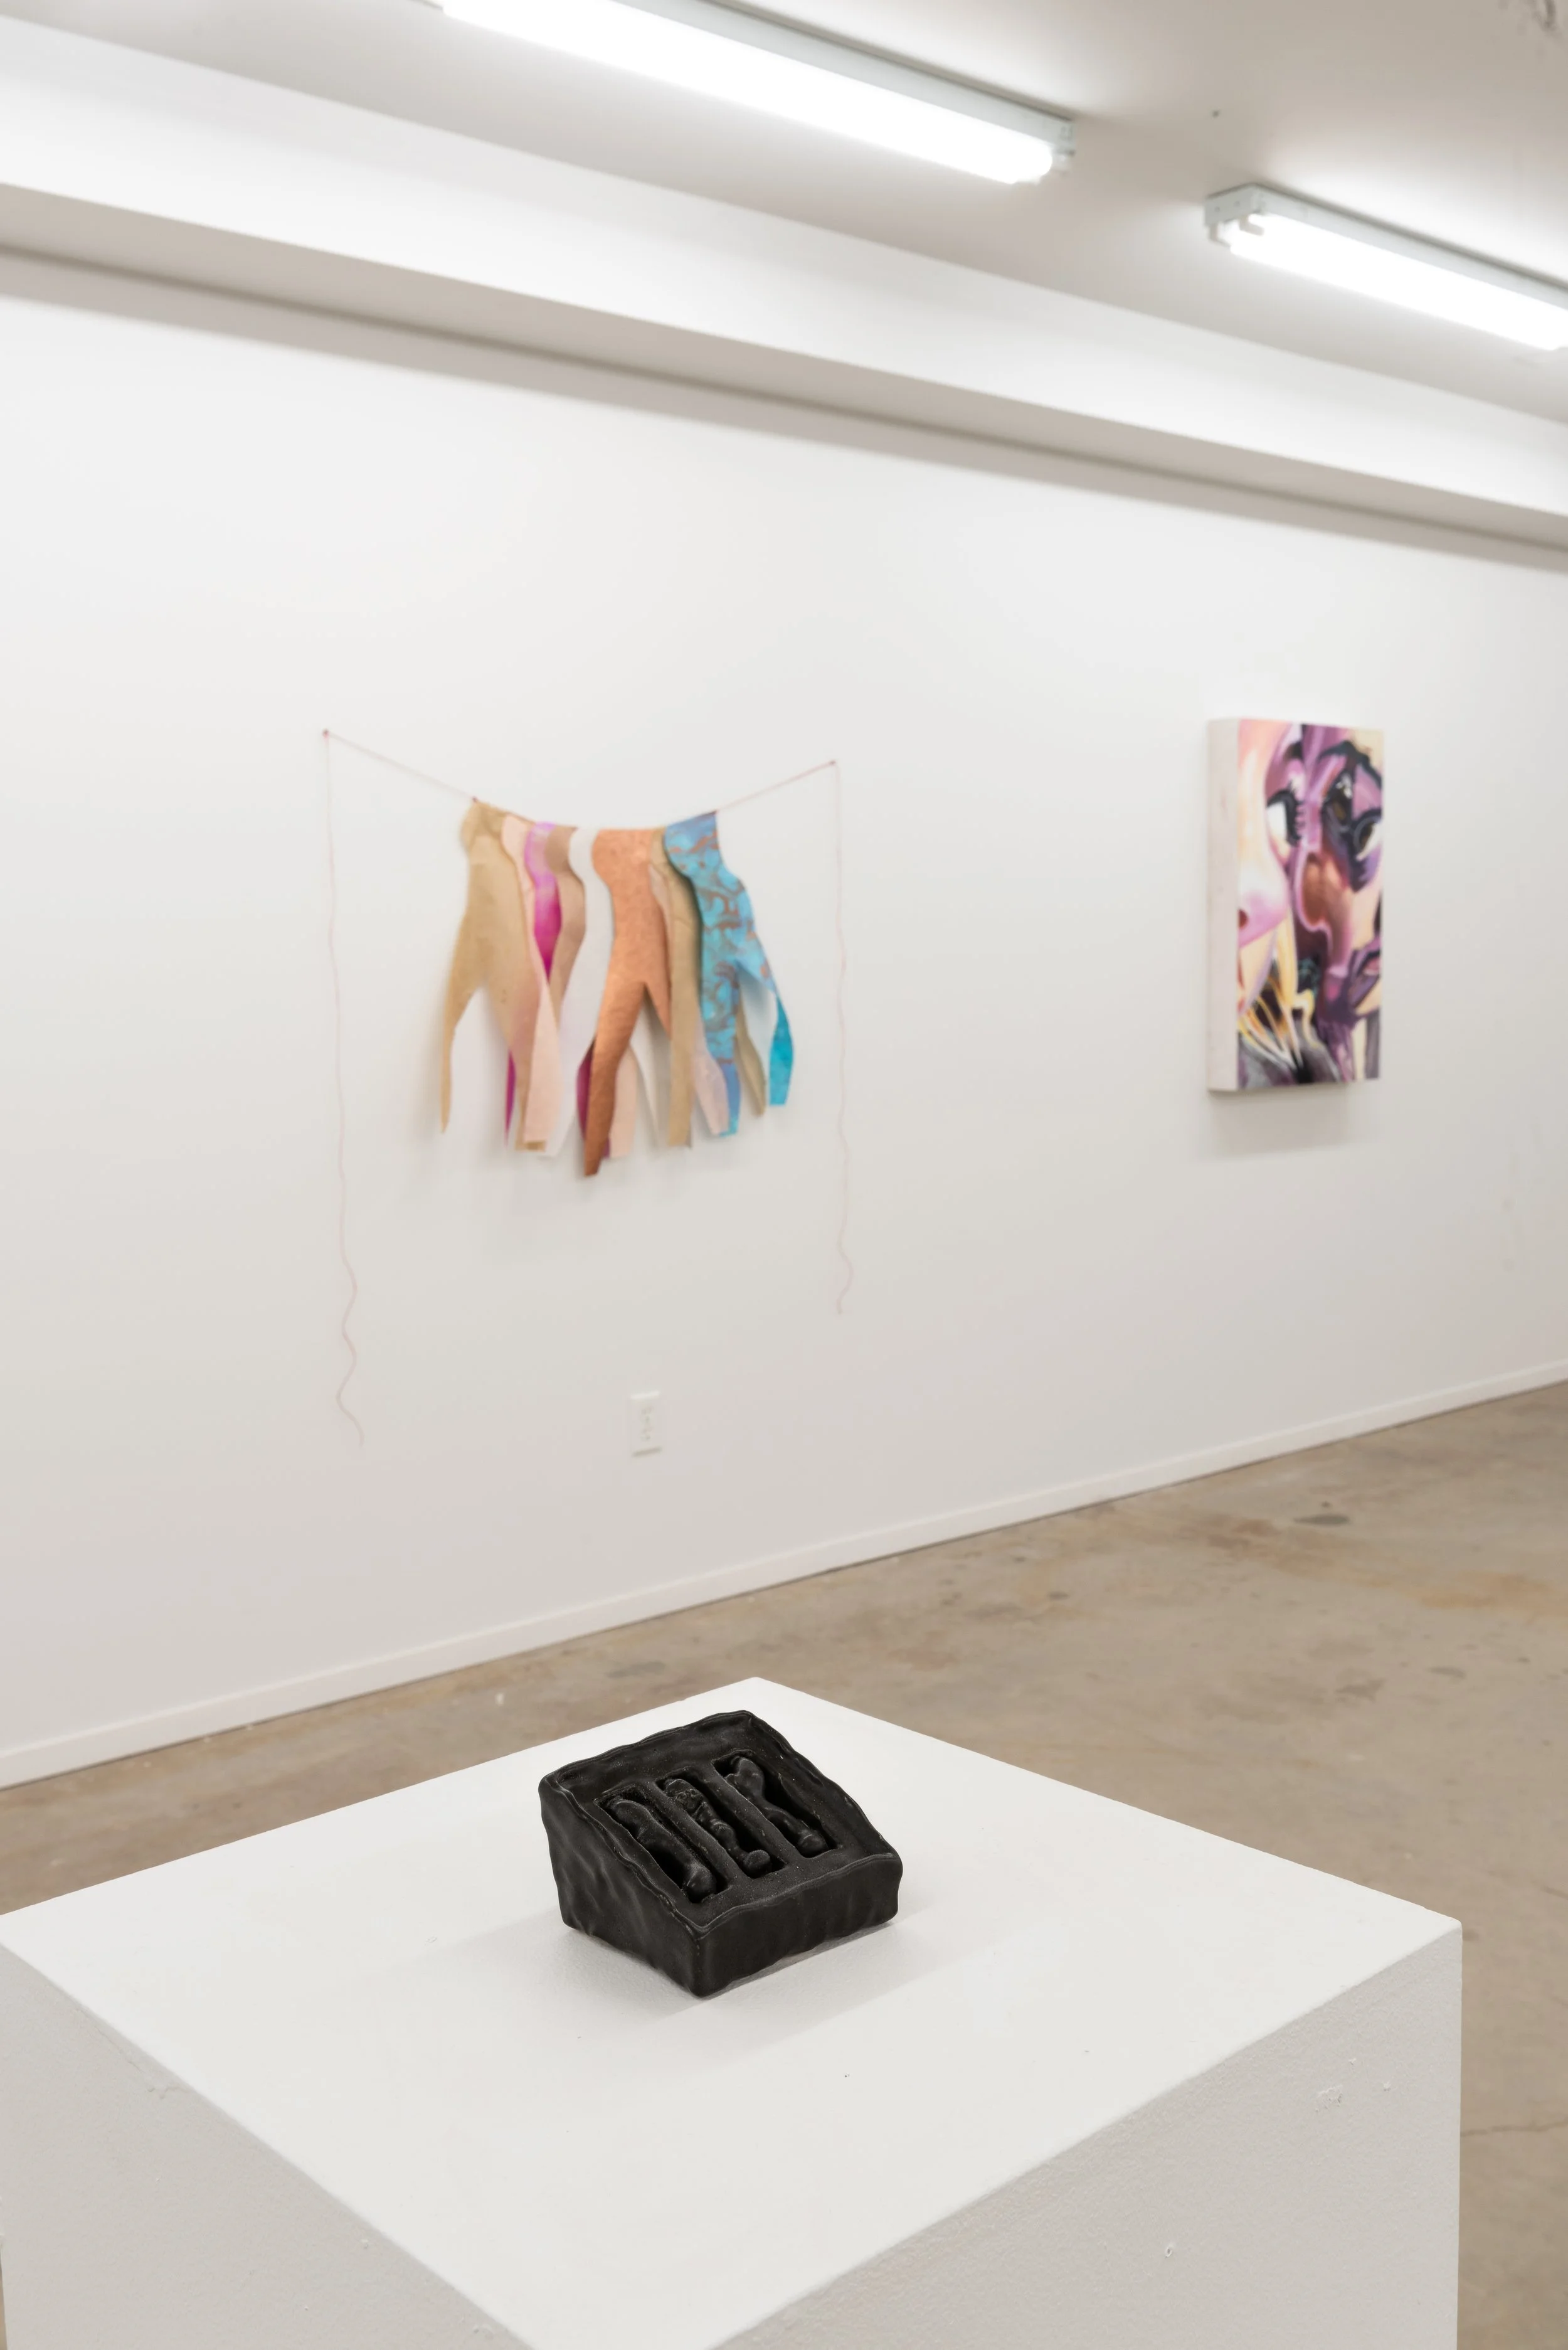
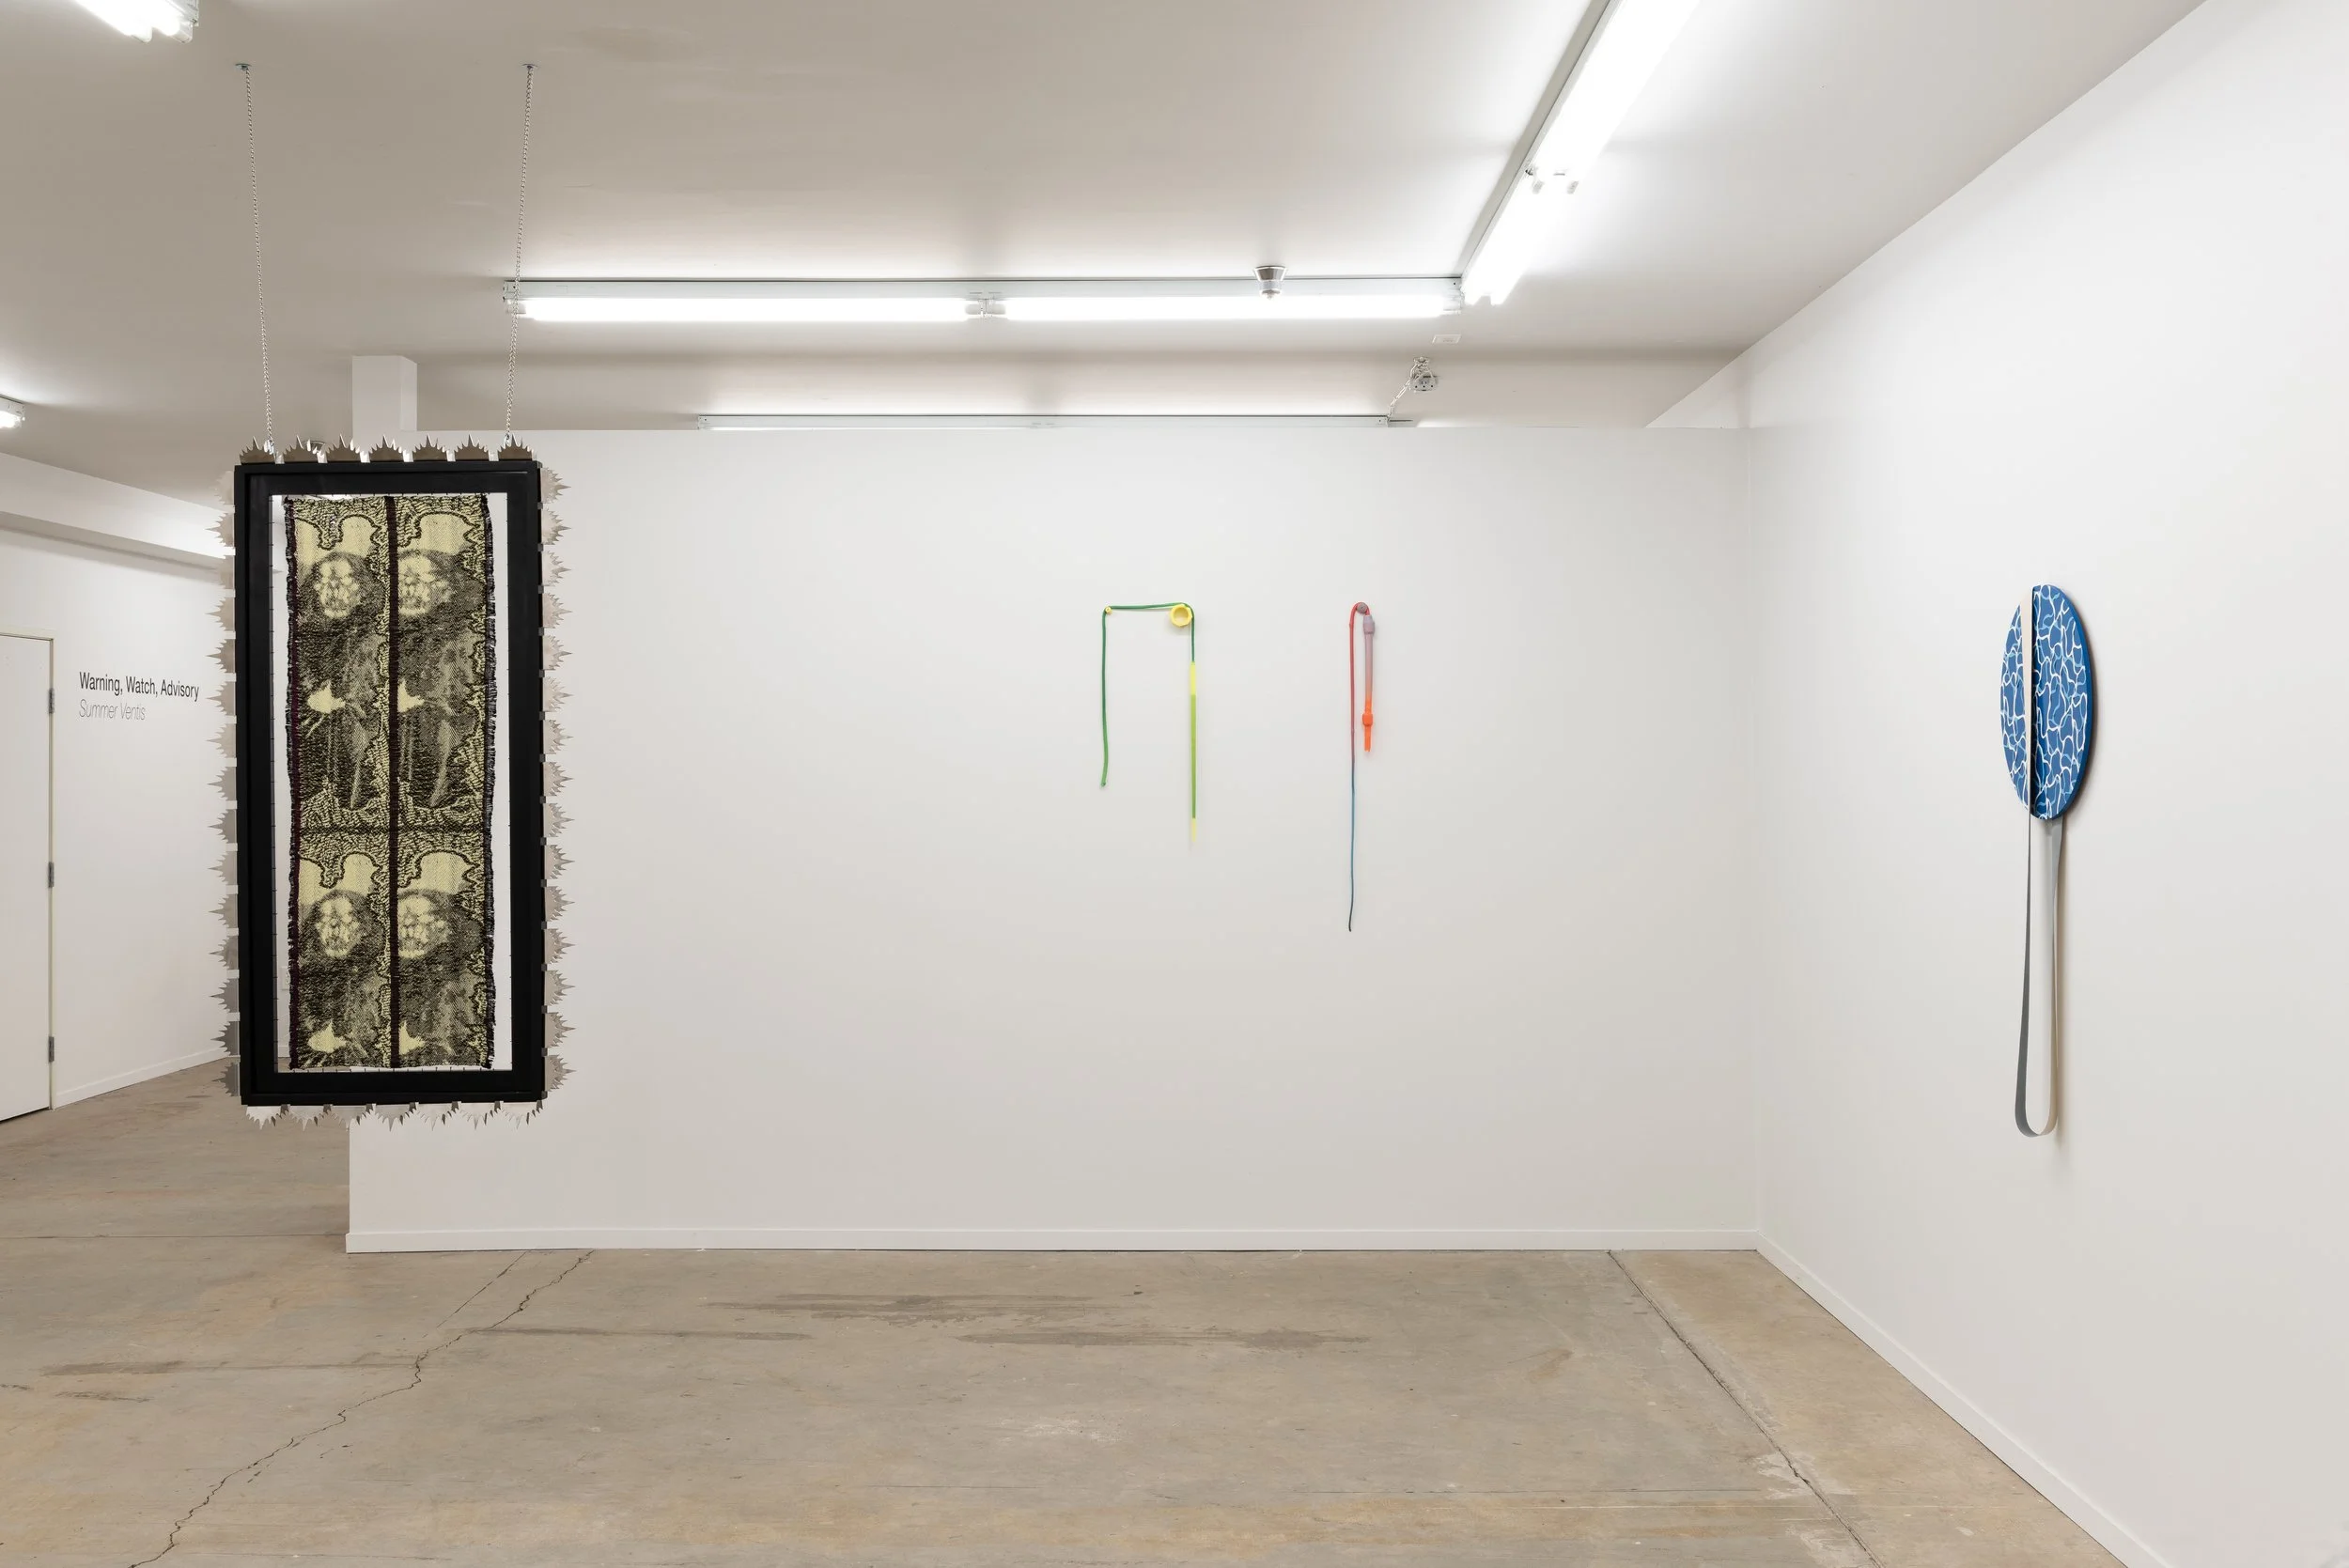
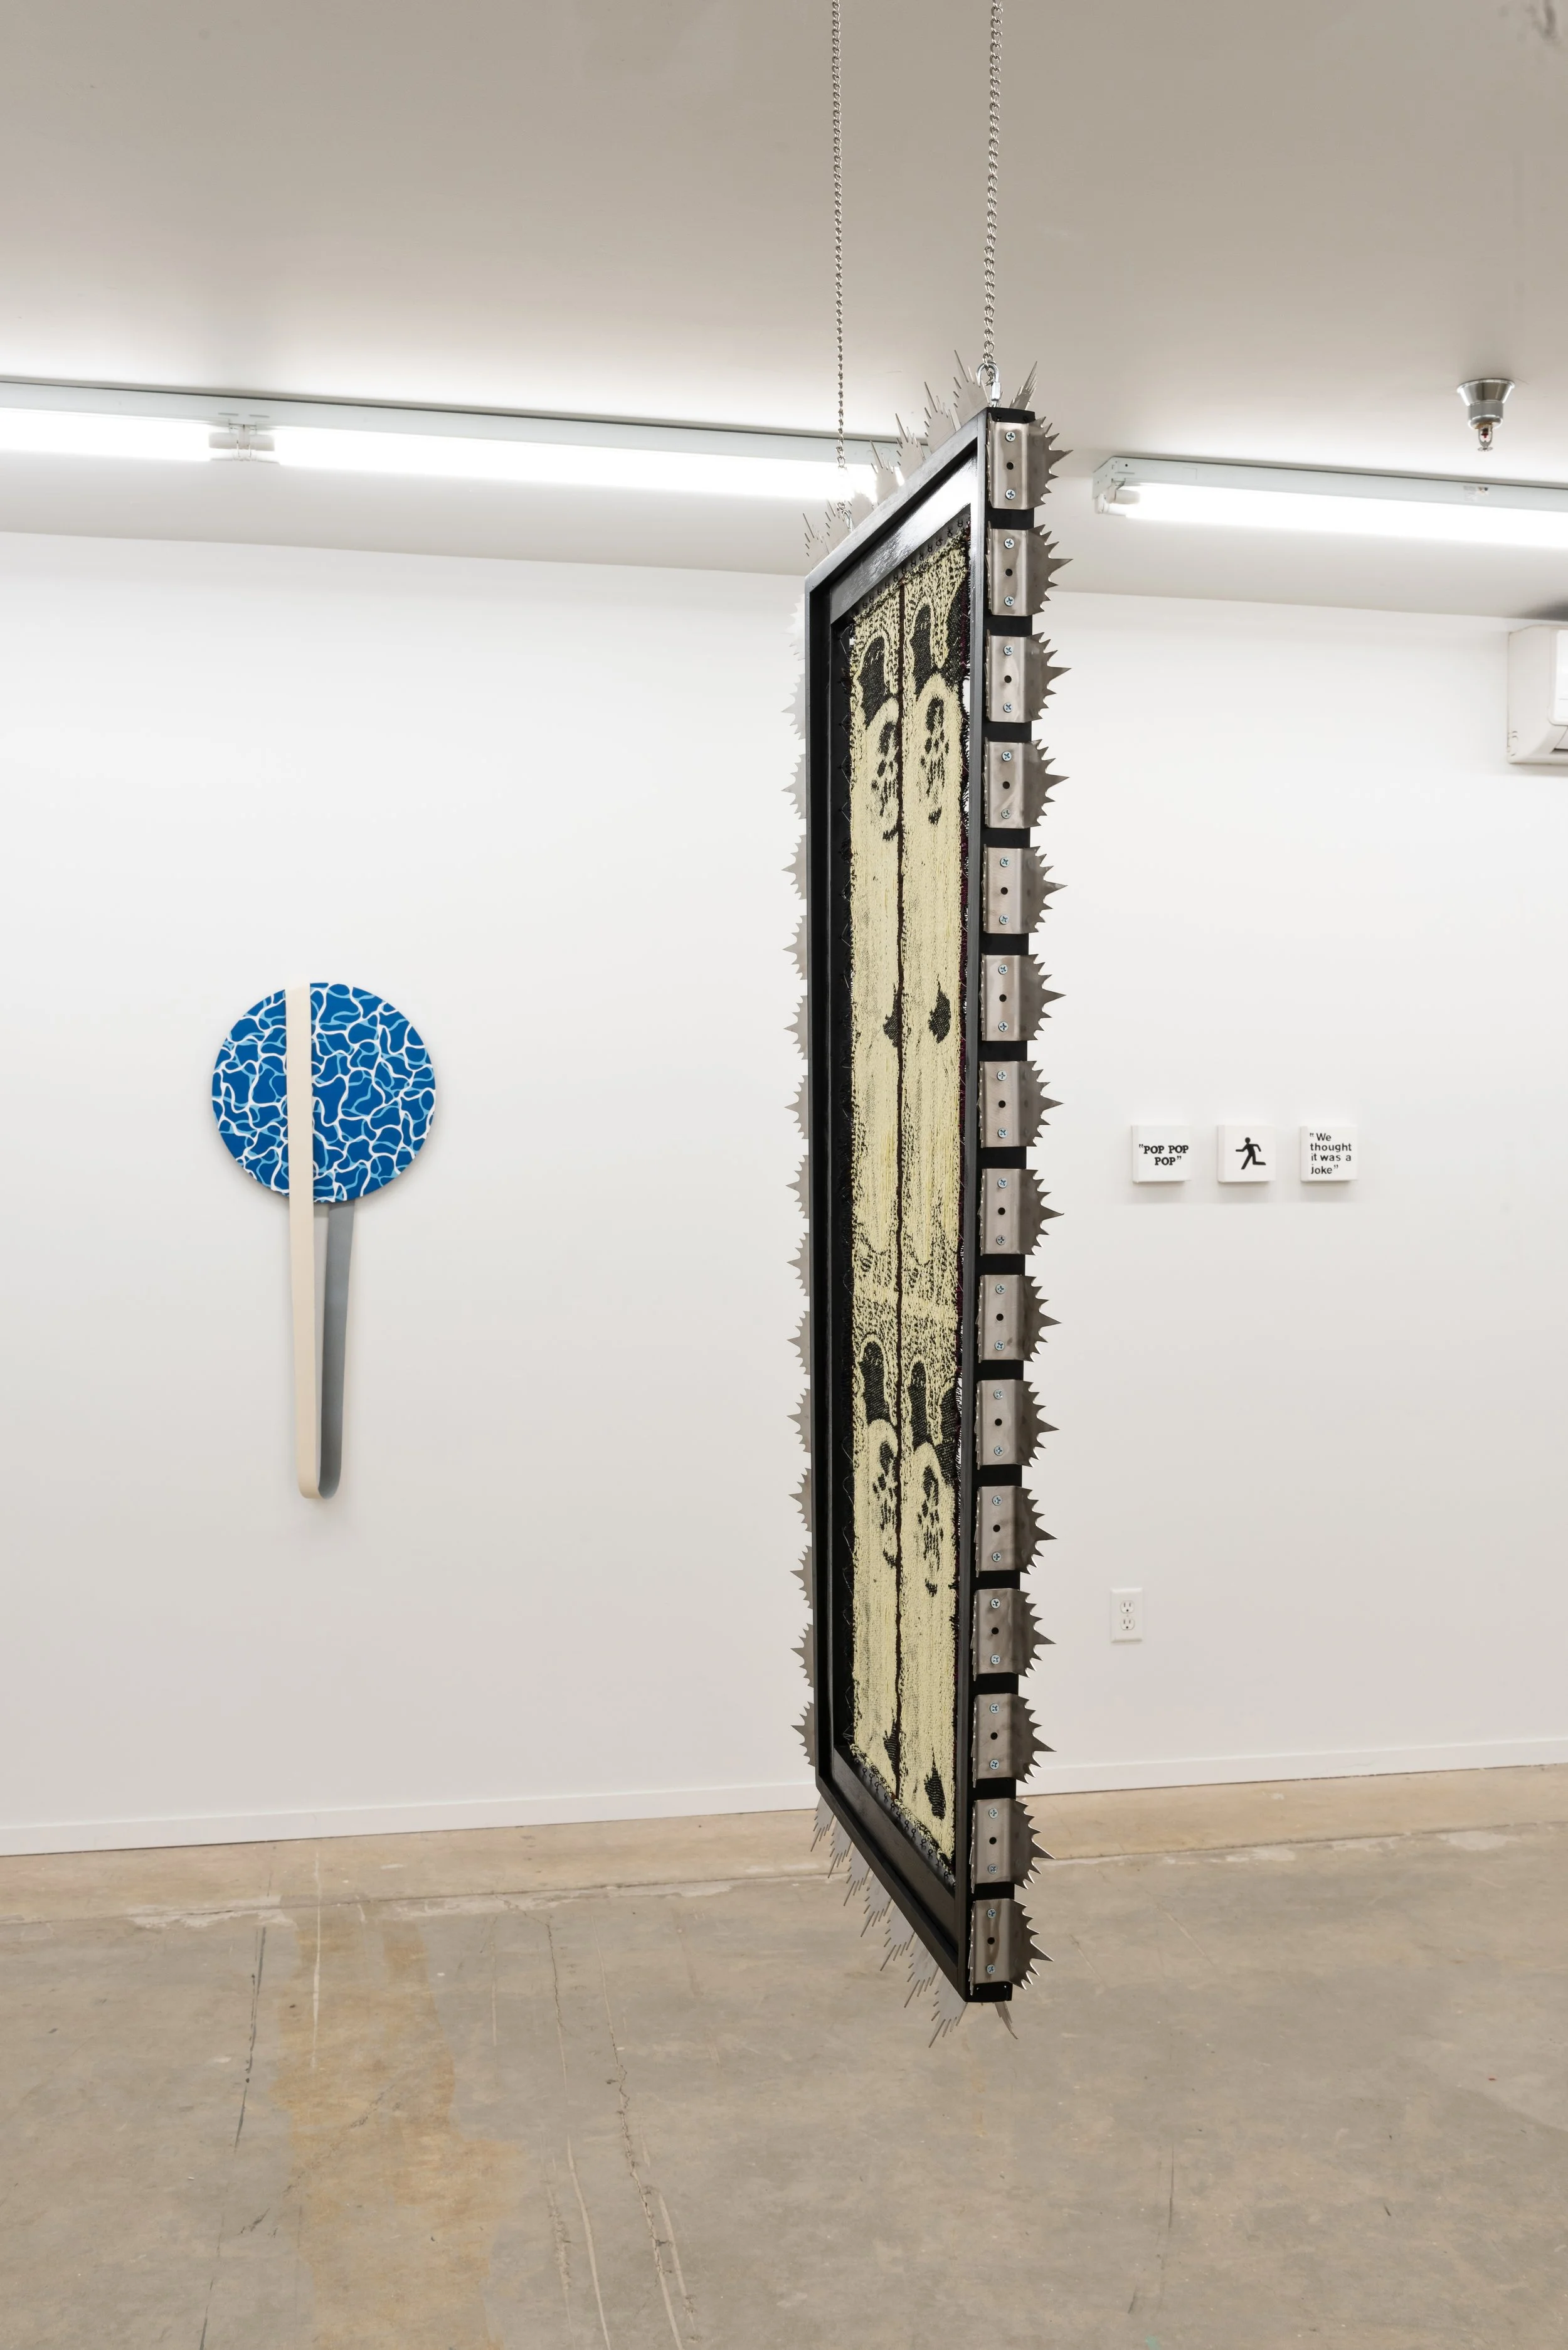
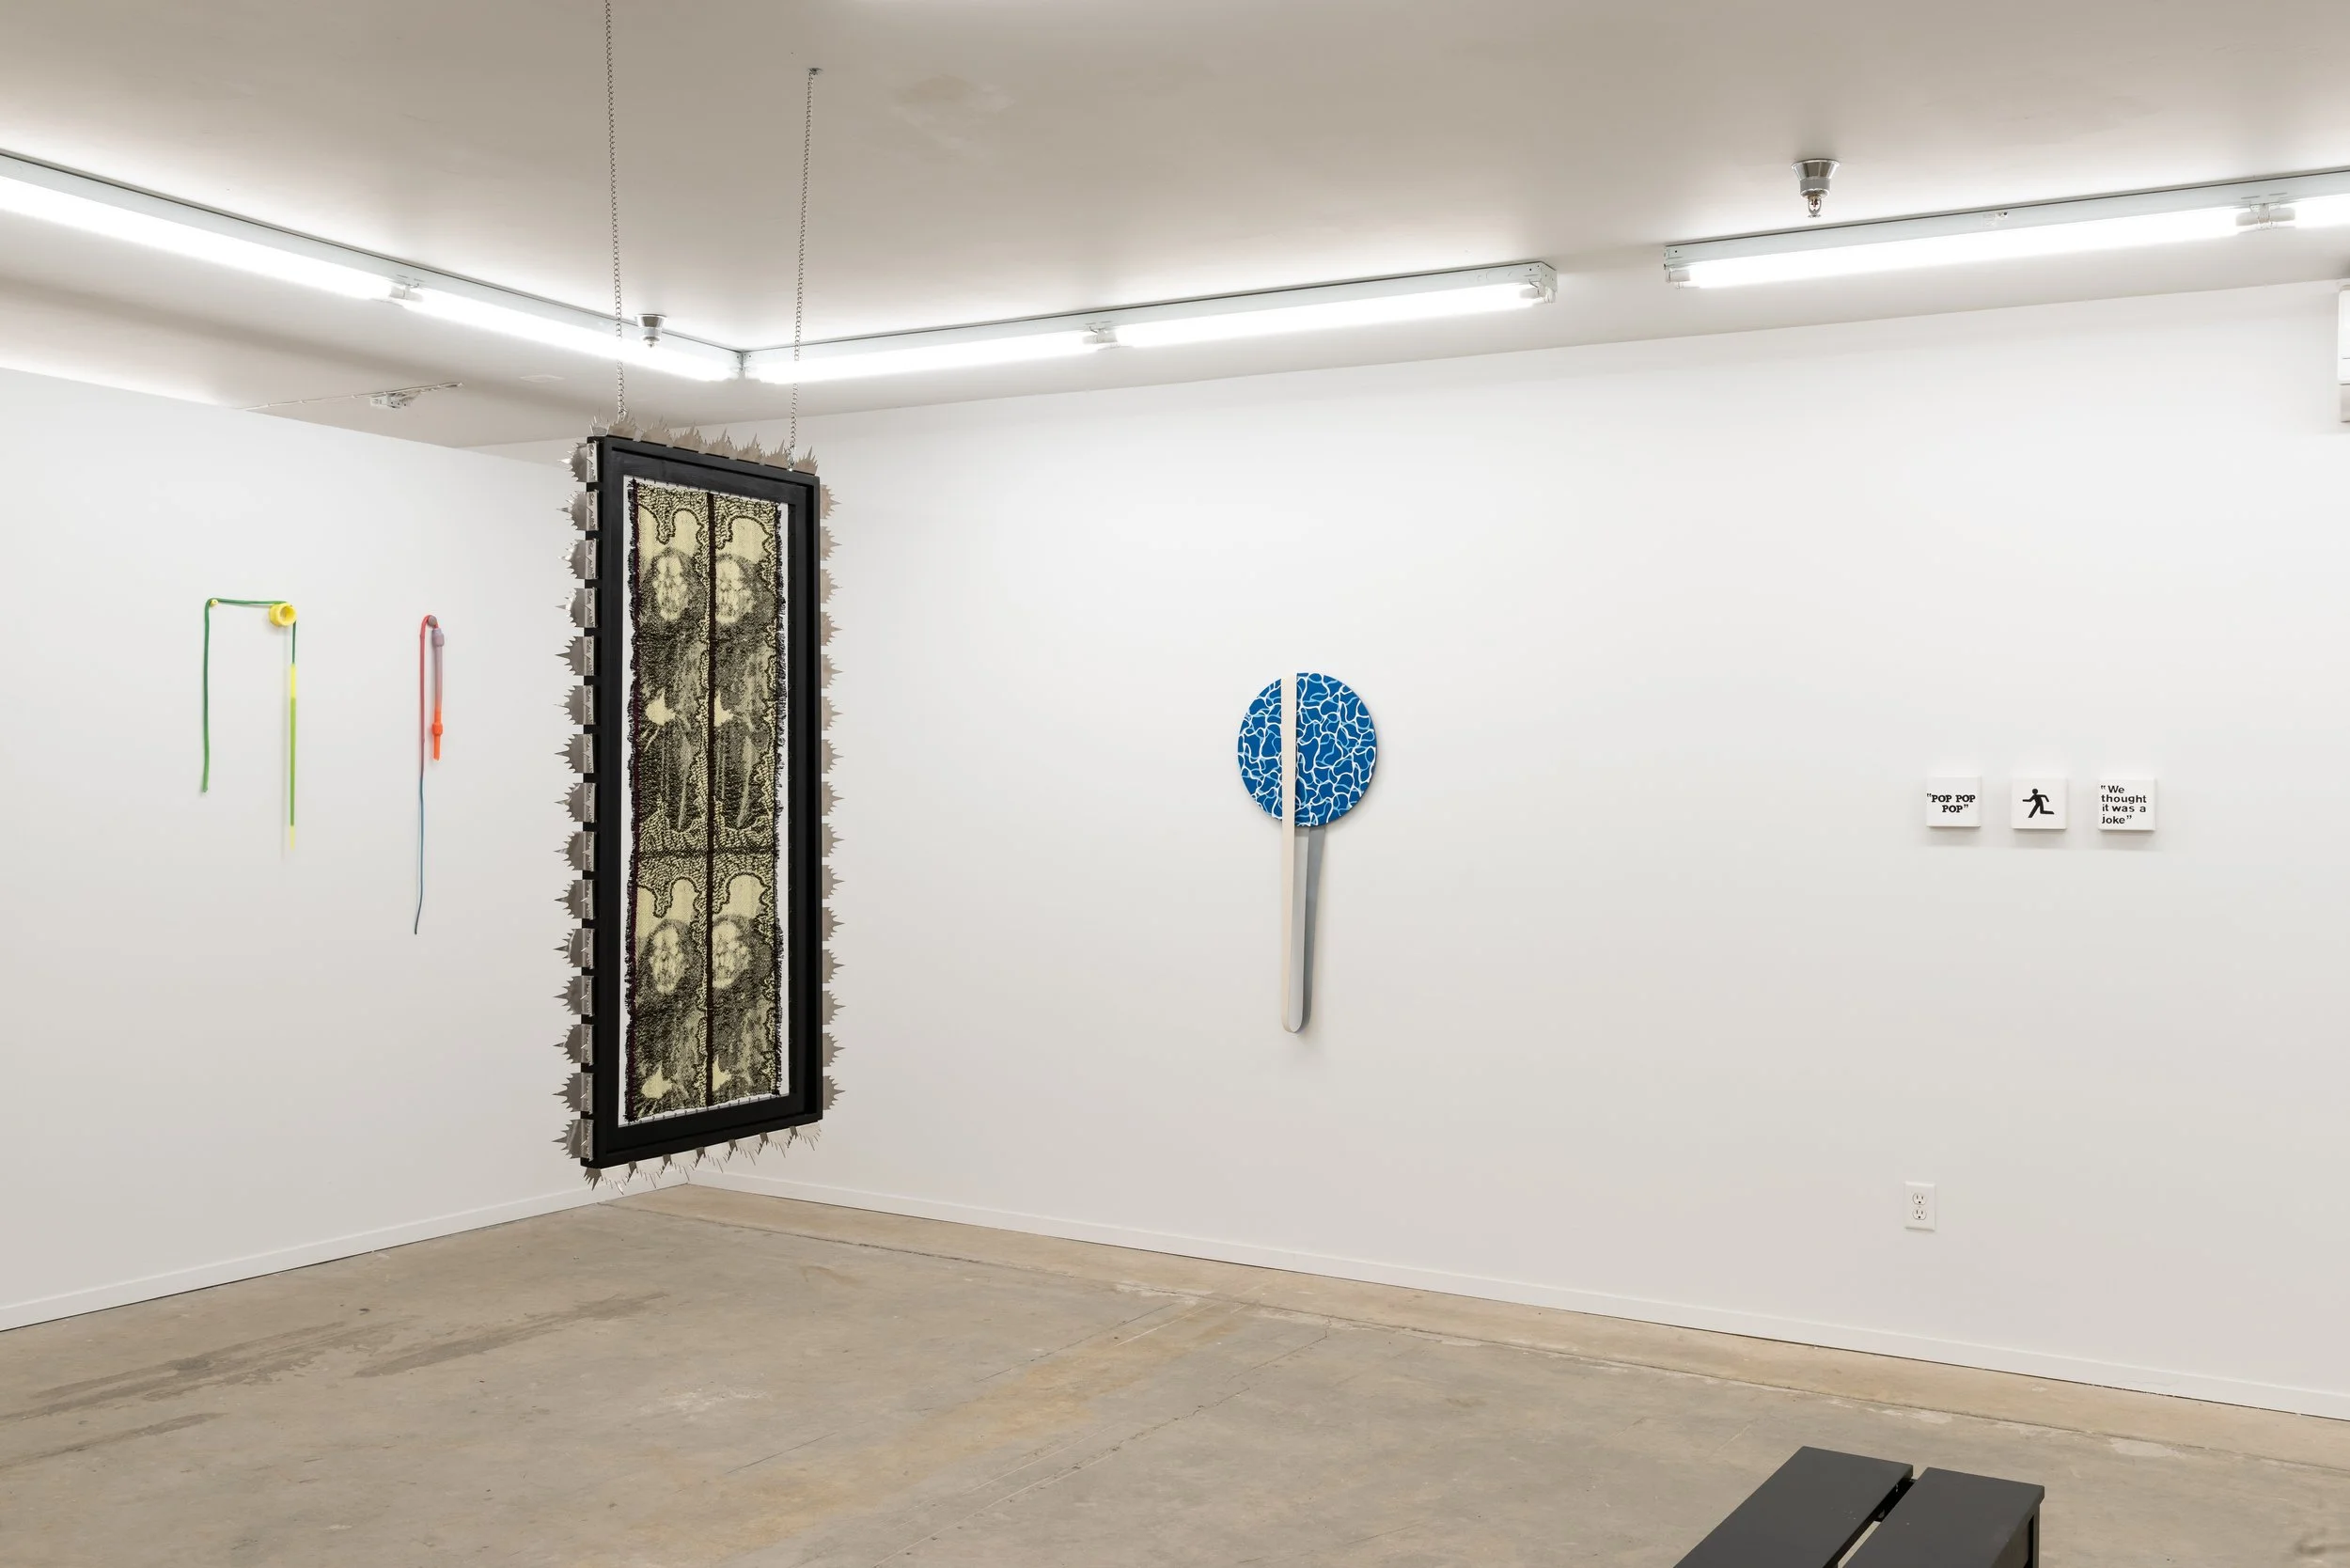
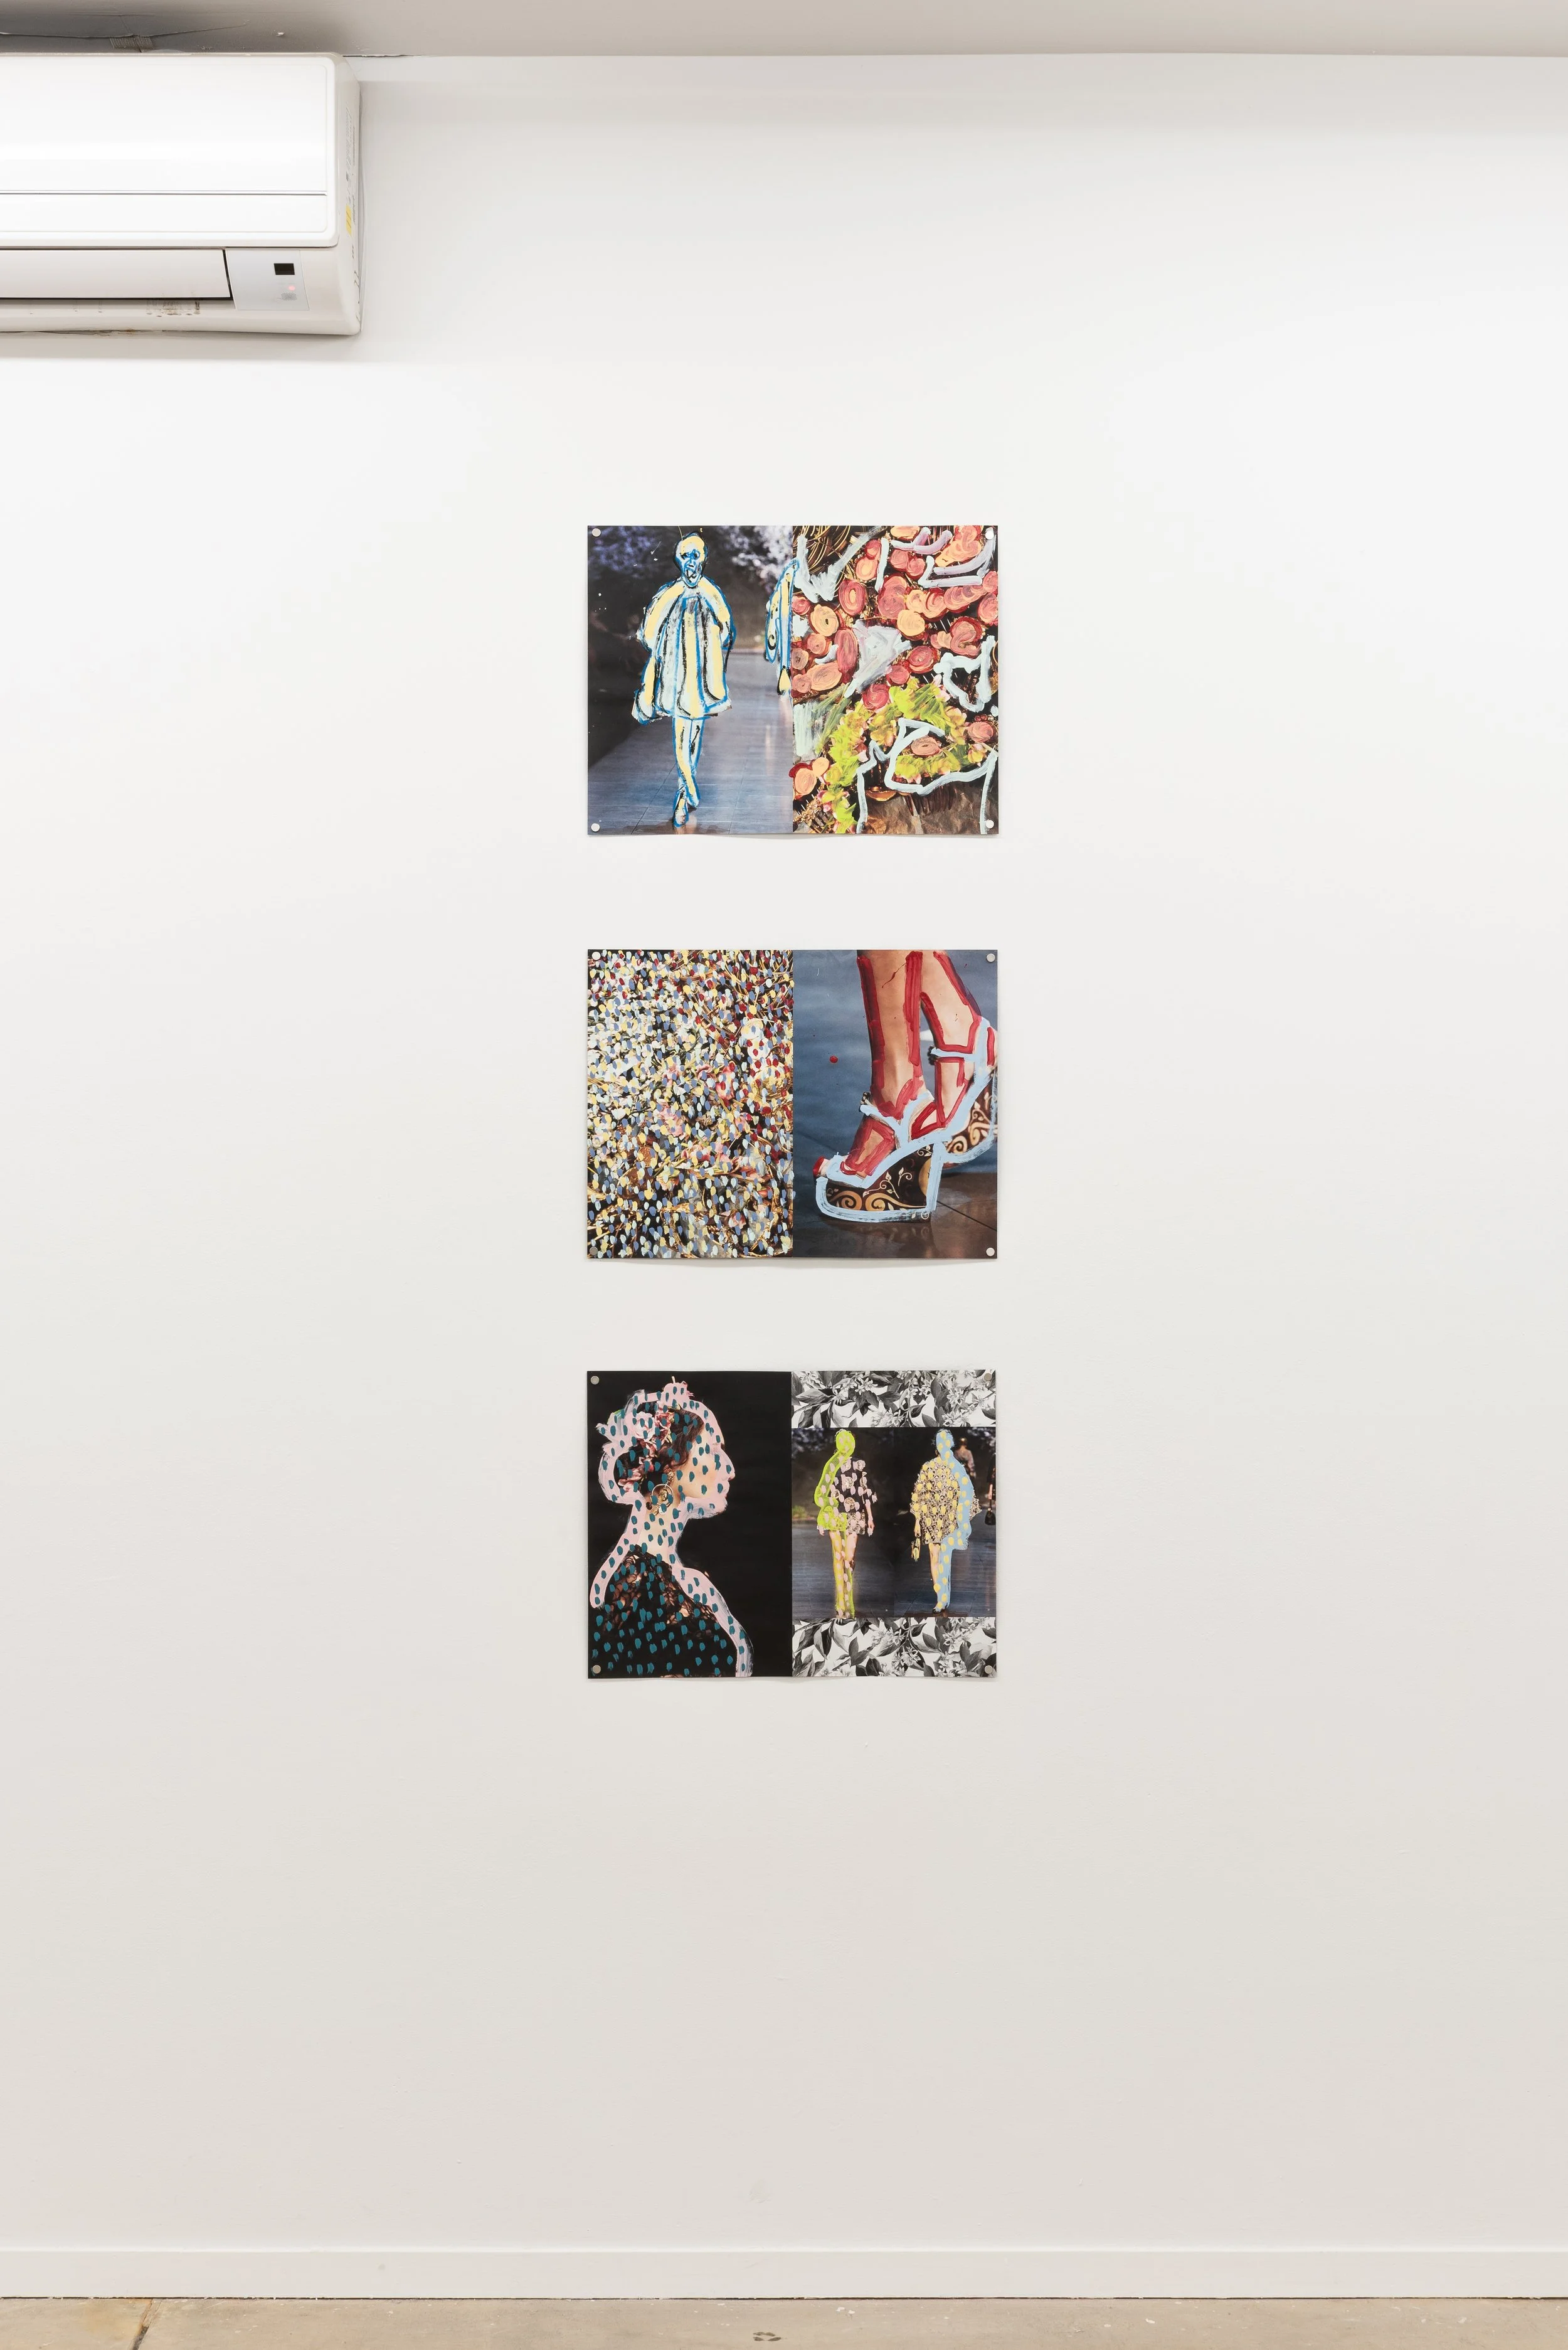
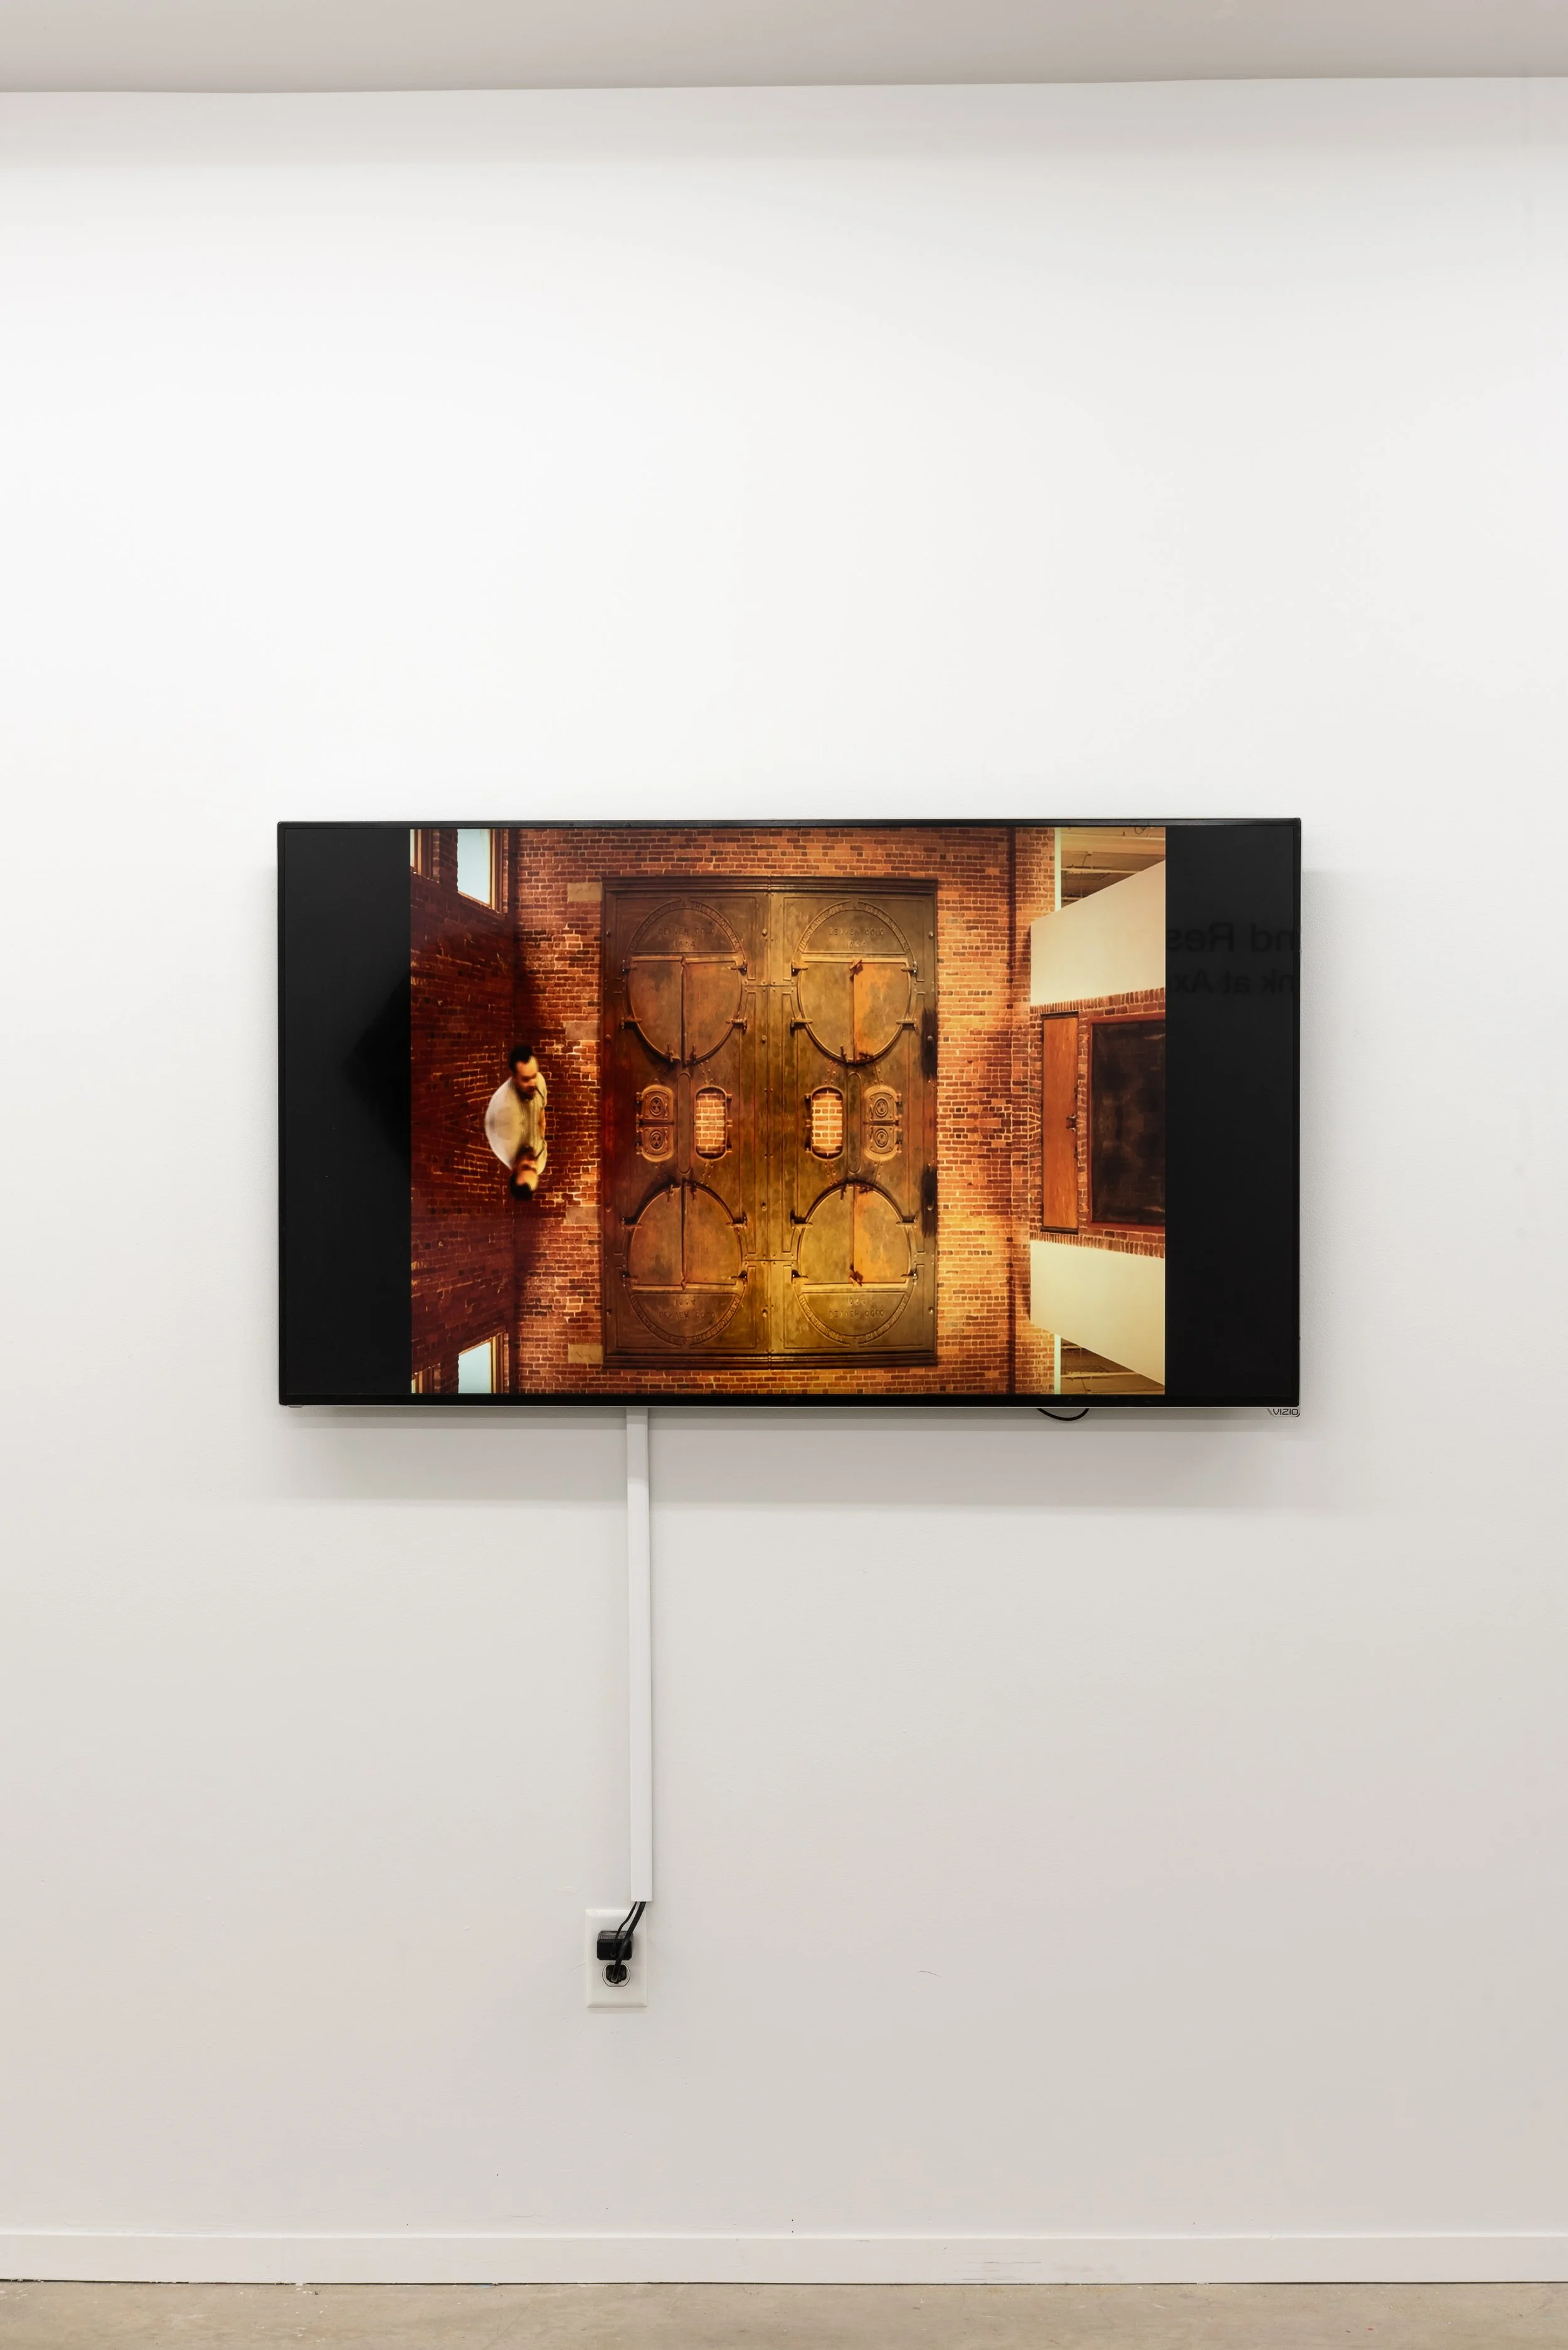
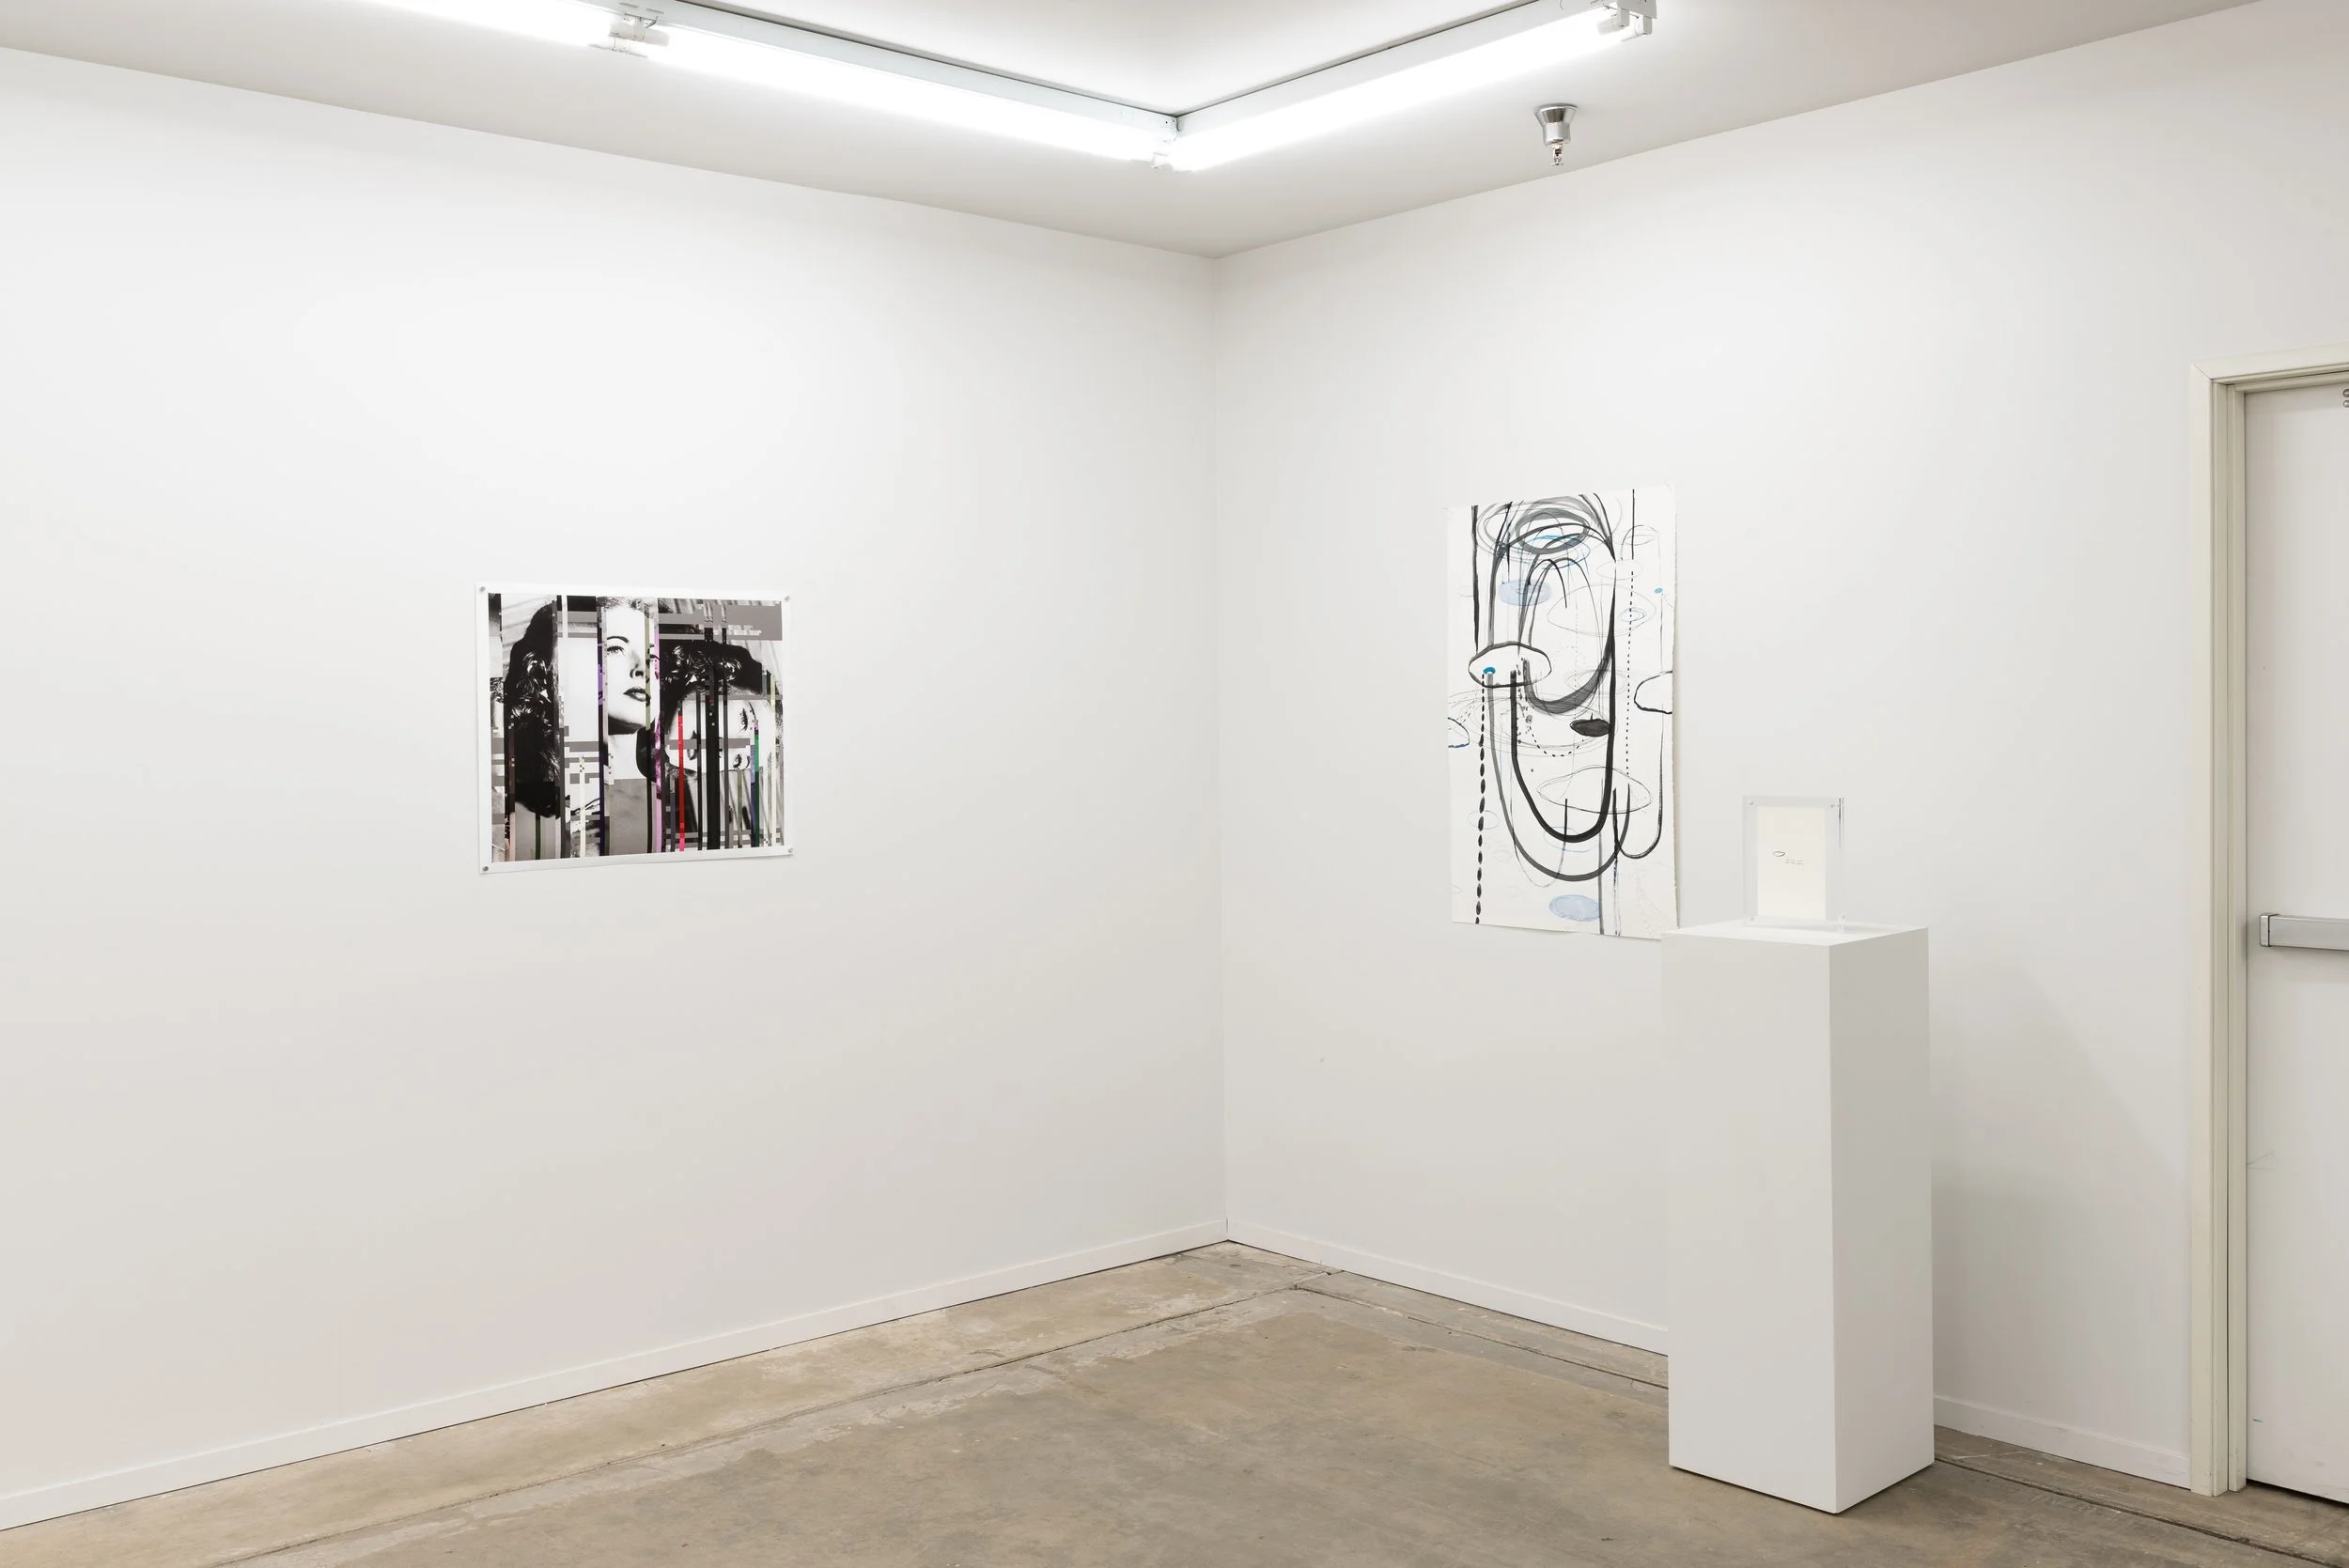
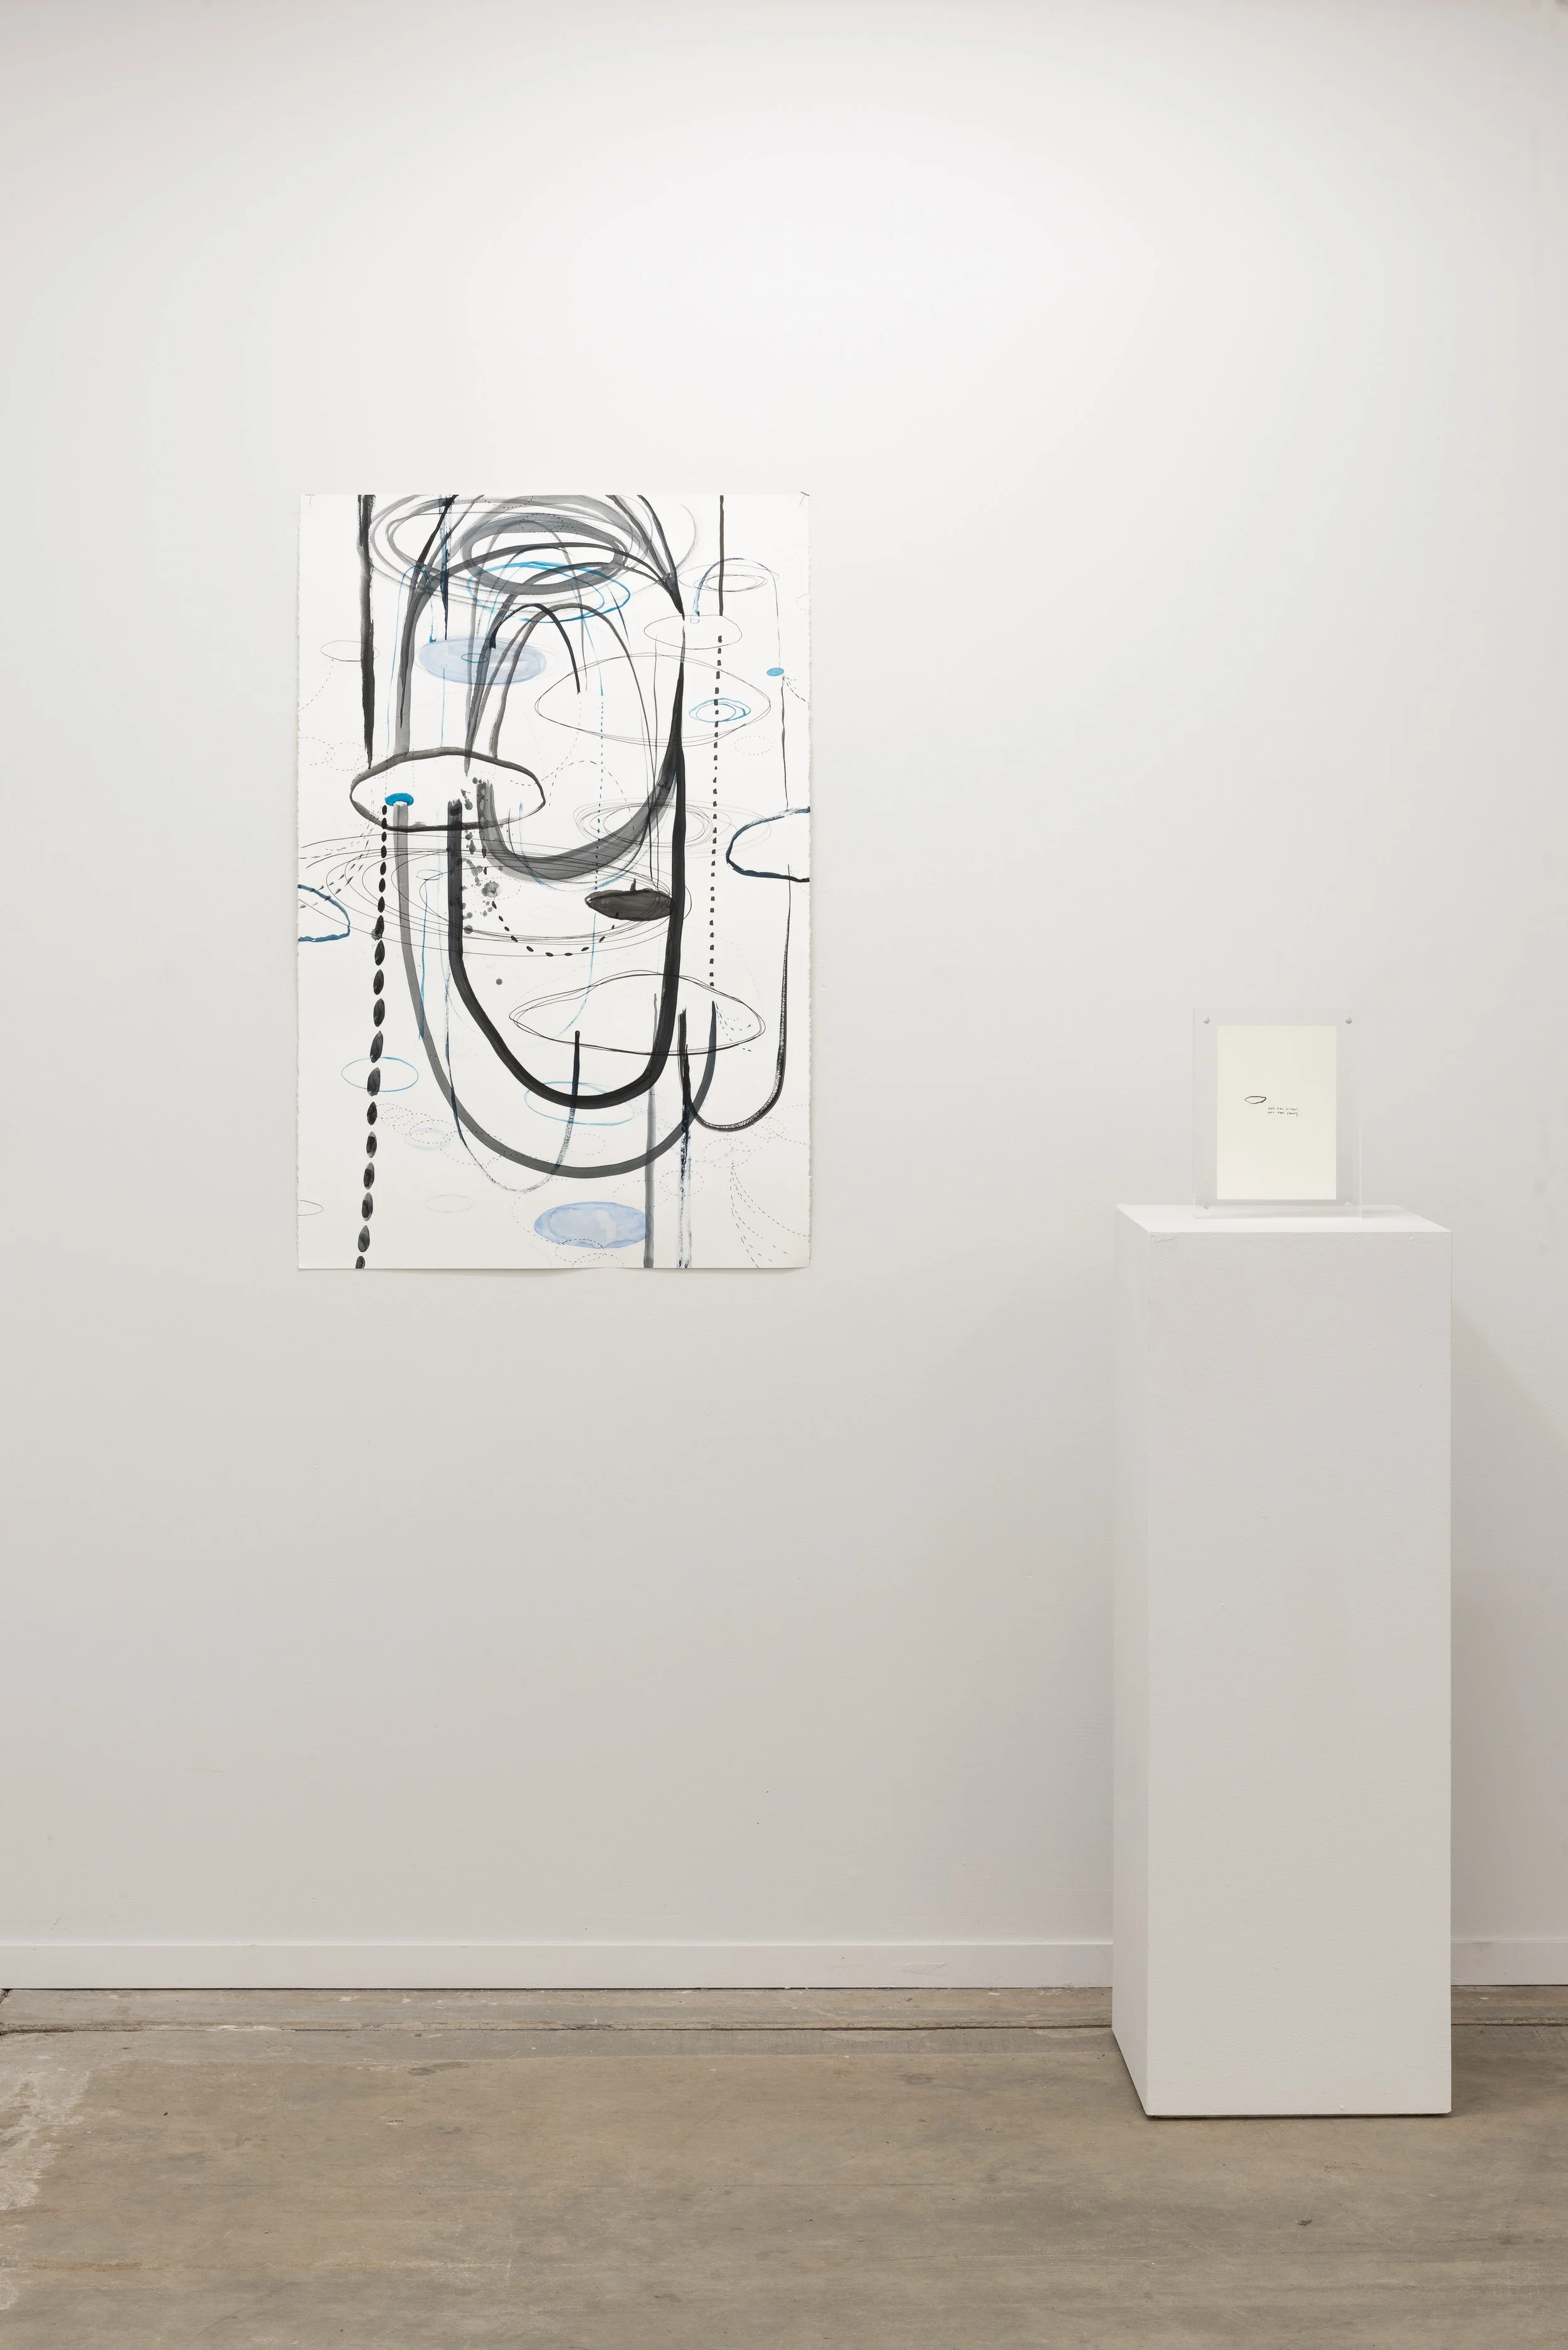
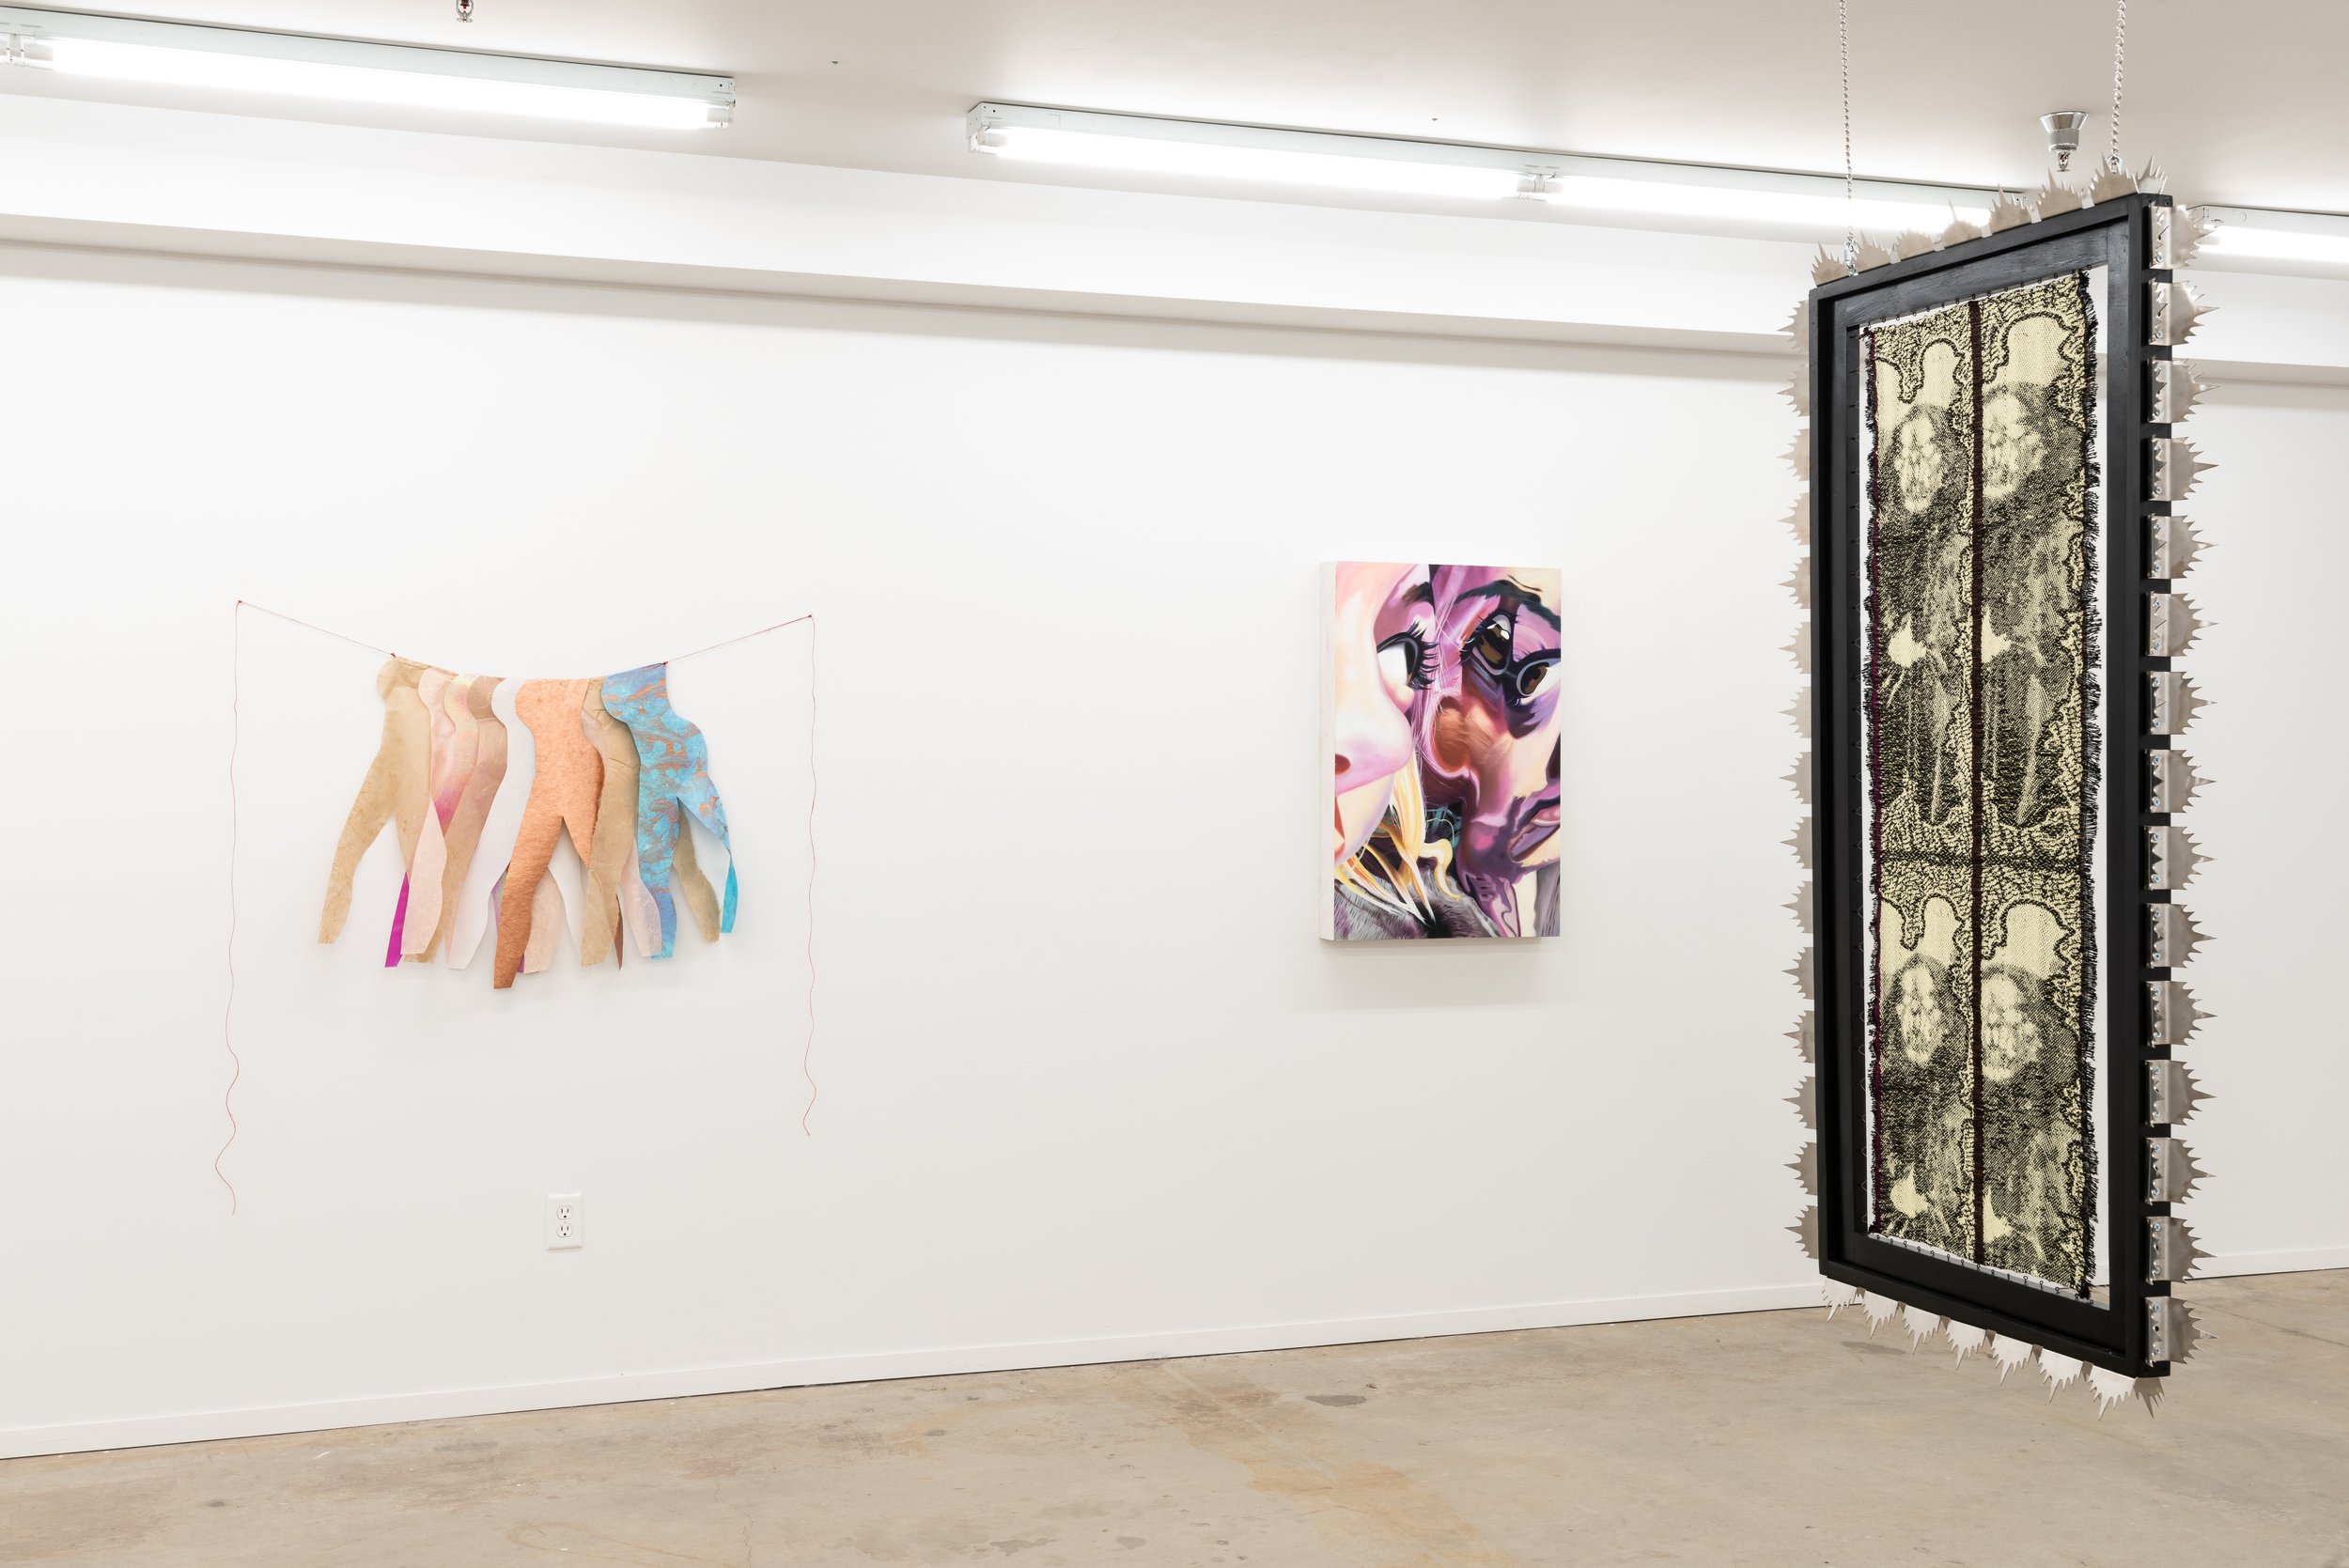
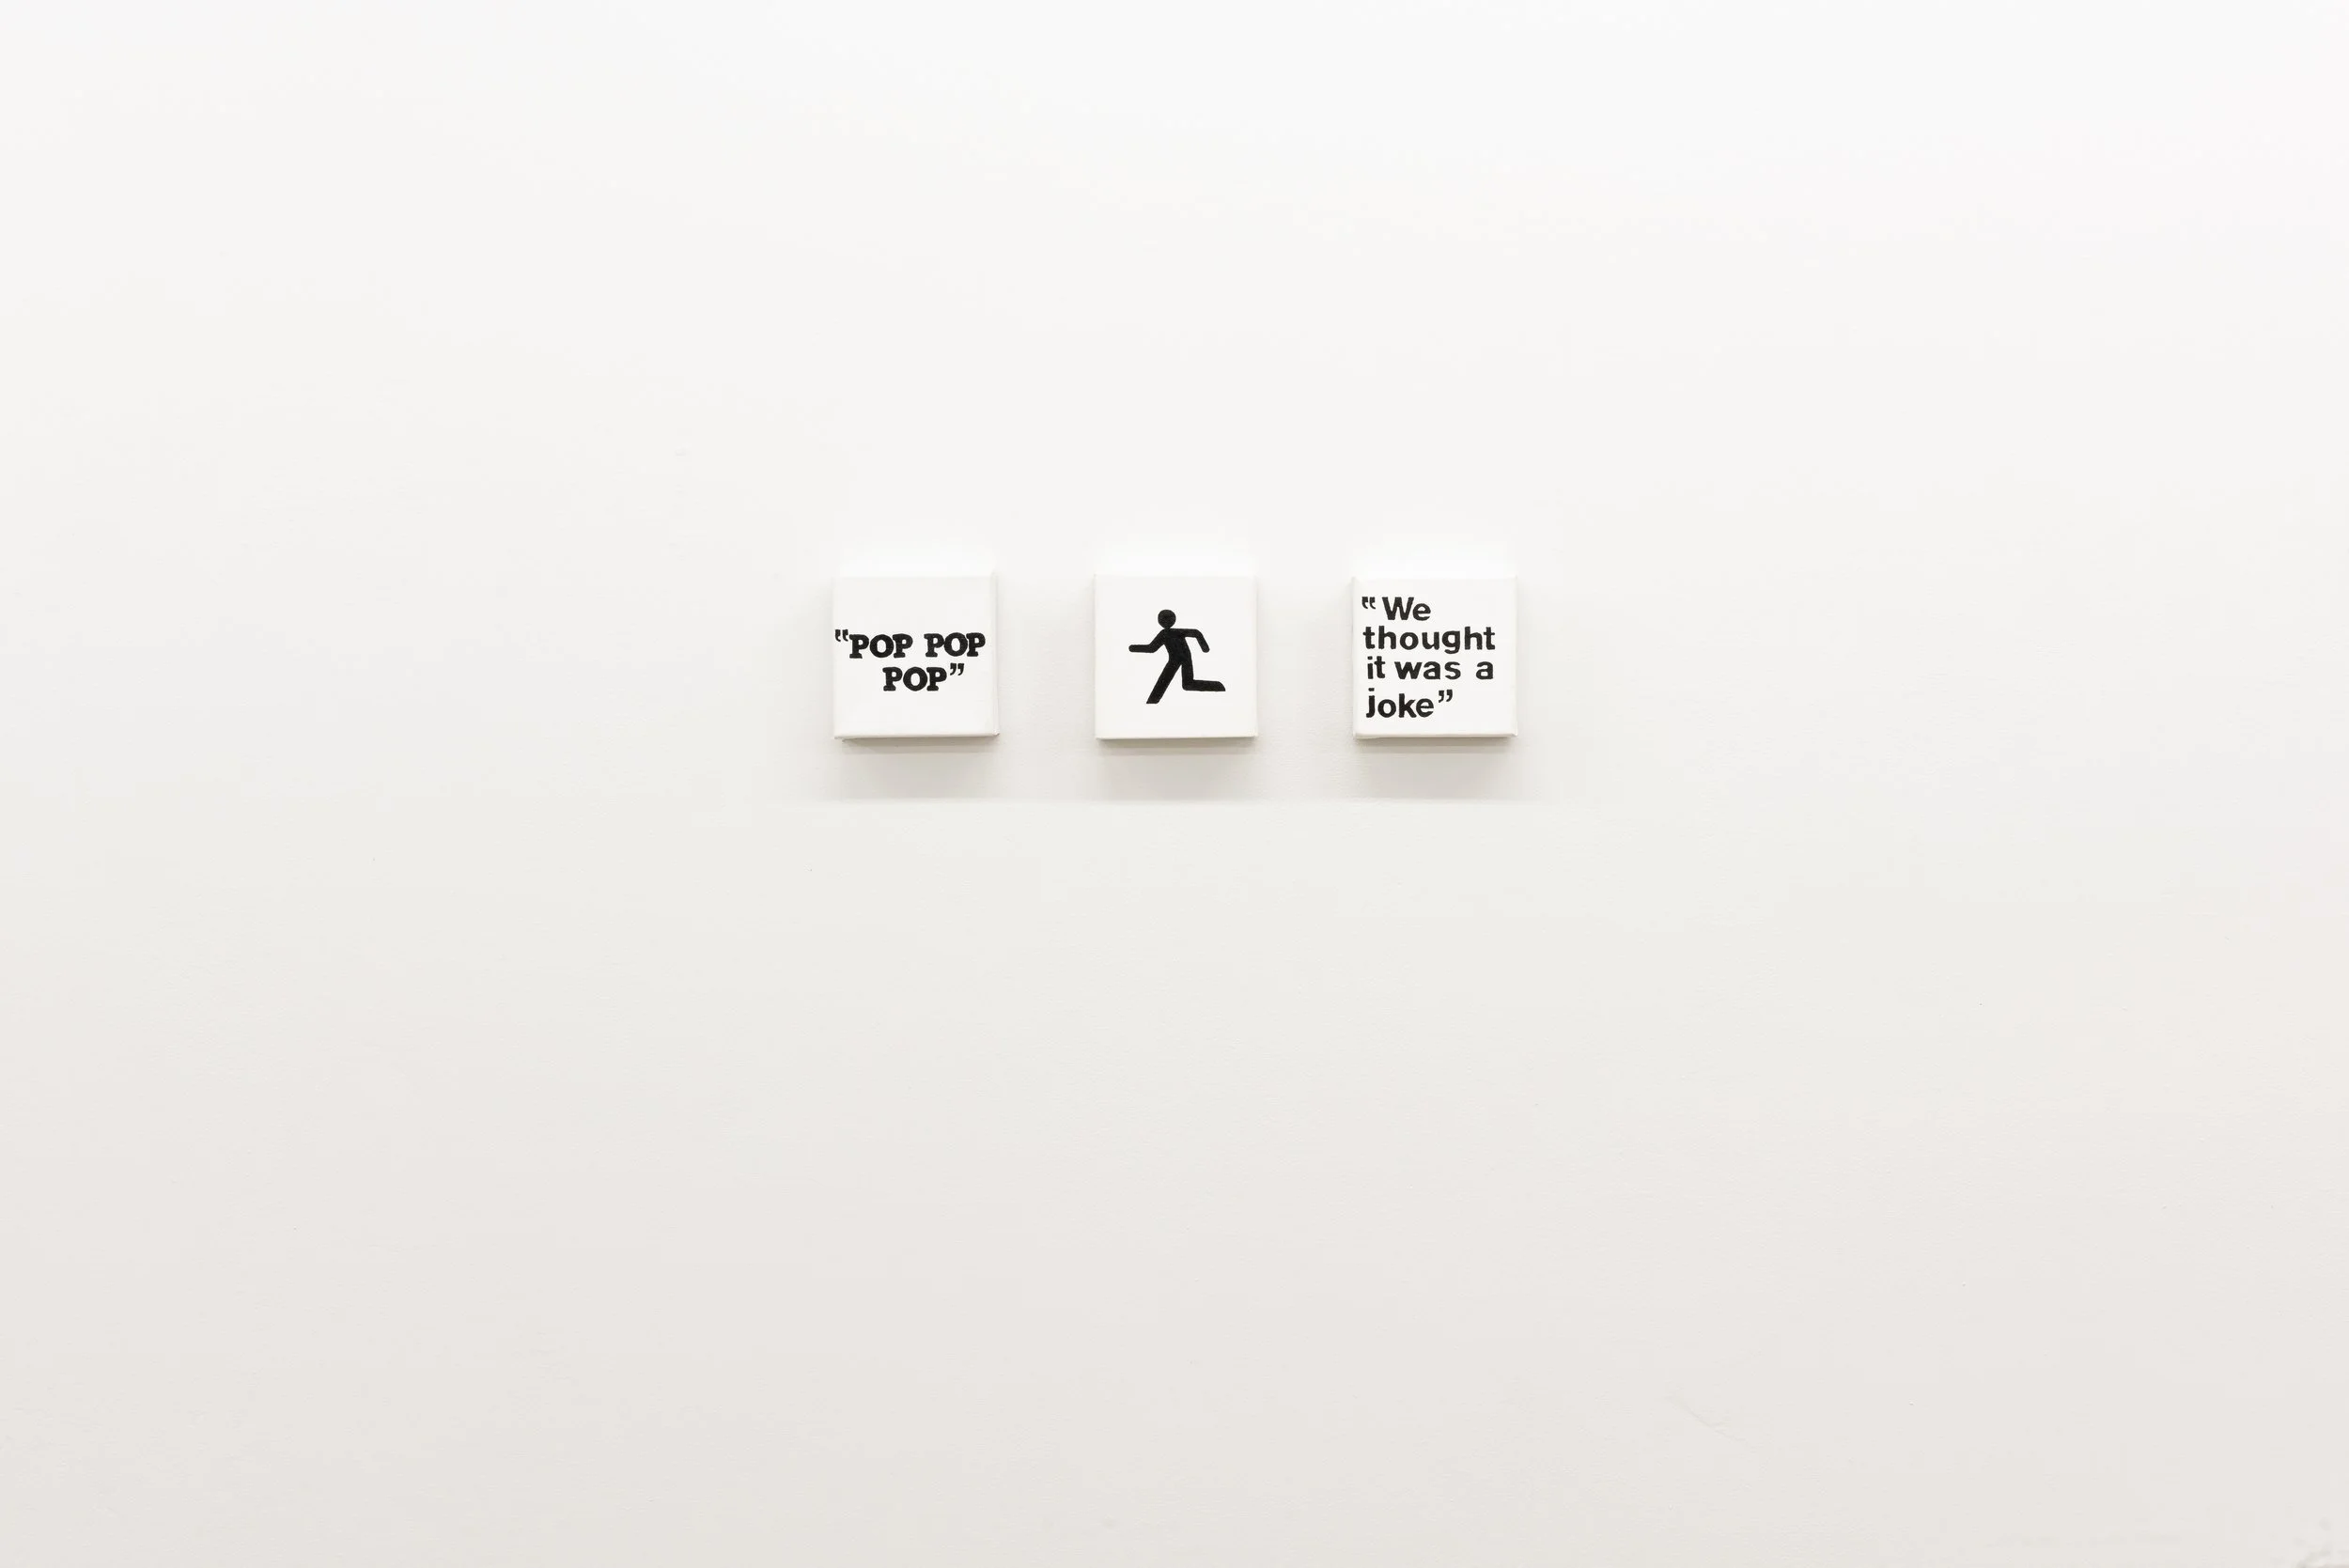
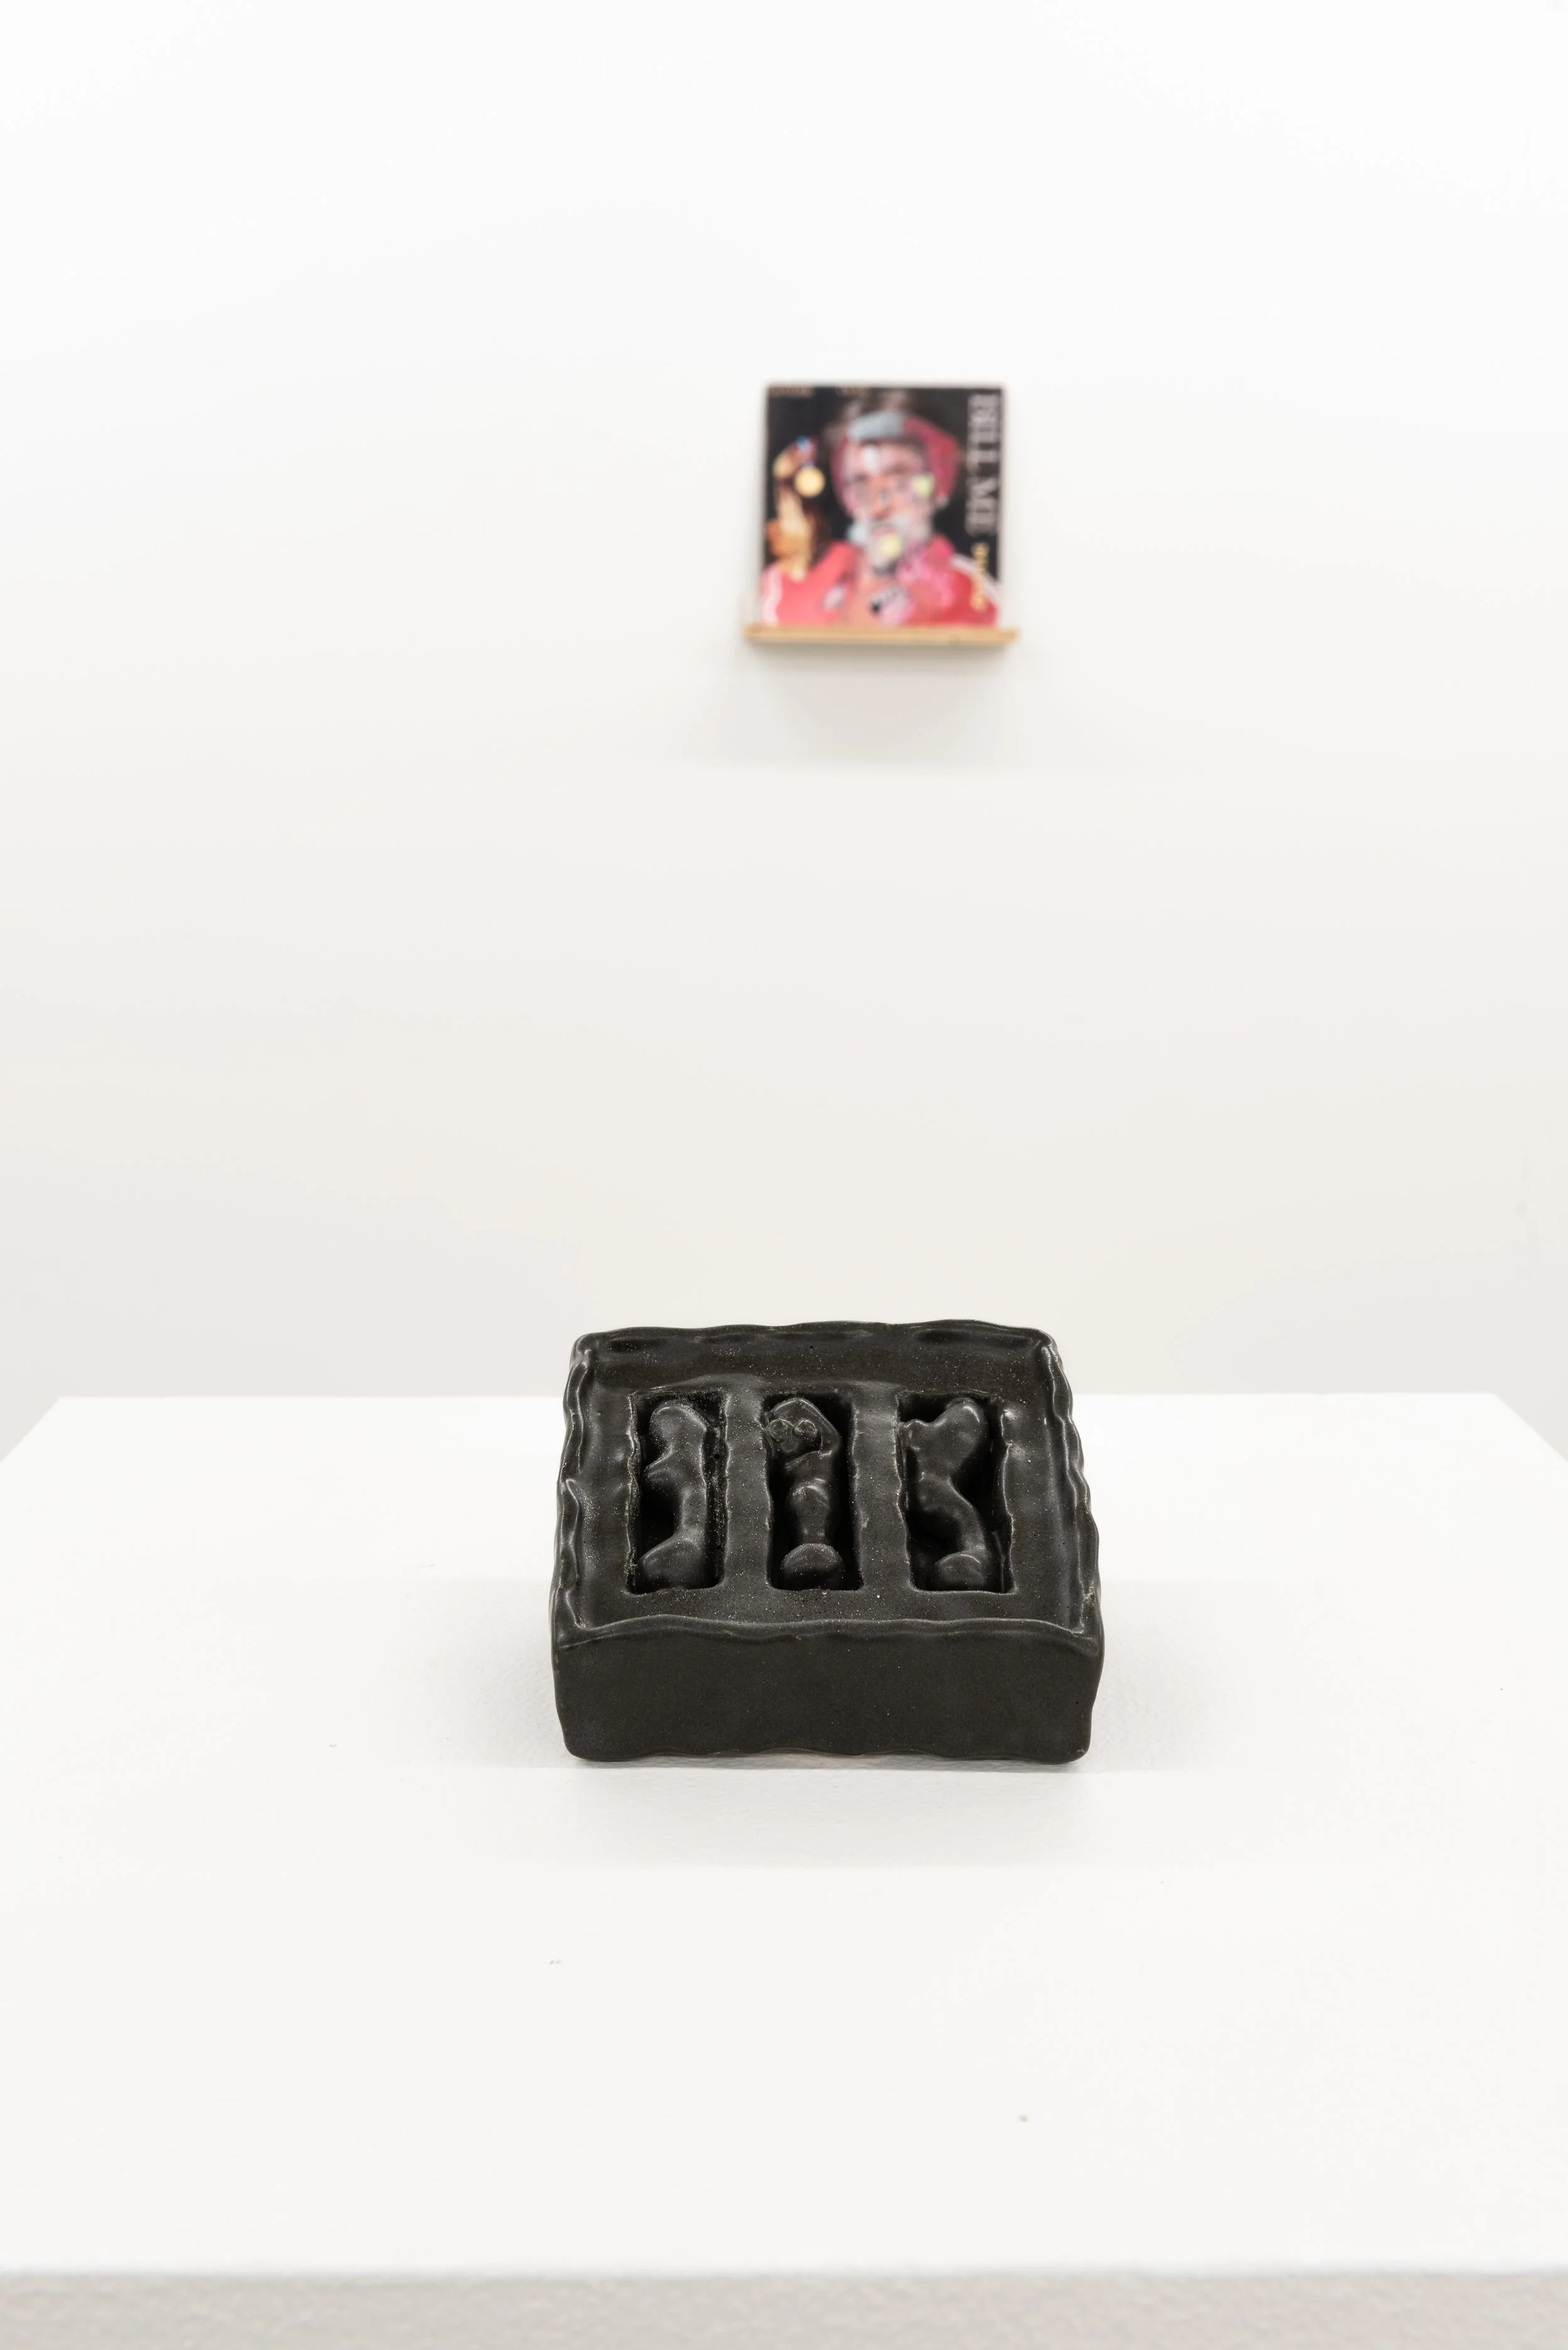
Hyperlink at Axis Gallery_3.jpg
Hyperlink at Axis Gallery_1.jpg
Hyperlink at Axis Gallery_2.jpg
Hyperlink at Axis Gallery_4.jpg
Hyperlink at Axis Gallery_5.jpg
Hyperlink at Axis Gallery_6.jpg
Hyperlink at Axis Gallery_7.jpg
Hyperlink at Axis Gallery_8.jpg
Hyperlink at Axis Gallery_9.jpg
Hyperlink at Axis Gallery_10.jpg
Hyperlink at Axis Gallery_11.jpg
Hyperlink at Axis Gallery_12.jpg
Hyperlink at Axis Gallery_13.jpg
Hyperlink at Axis Gallery_14.jpg
Hyperlink at Axis Gallery_15.jpg
Hyperlink at Axis Gallery_16.jpg
Hyperlink at Axis Gallery_17.jpg
Hyperlink at Axis Gallery_18.jpg
Hyperlink at Axis Gallery_19.jpg
Hyperlink at Axis Gallery_20.jpg
Hyperlink at Axis Gallery_21.jpg
Hyperlink at Axis Gallery_22.jpg
prev / next